Once I started toying with metal in the shop I encountered the need for more serious cutting tools. I had been cutting aluminum with hacksaws and my old craftsman saber saw. I built a jig for holding aluminum bar and square stock and bought a new Dewalt saber saw that was a large improvement but it was still pretty tedious and innacurate.
I spend a few months researching online and came to the conclusion that I should invest in a bandsaw. I wanted something that could handle wood and metal with variable speeds. New I was looking at around $2000. Further research and online discussions led me to see that the new saws are really just cheaper-made versions of saws that were made 20-50 years ago. As one online machinist put it, all improvements for tools like this happened a long time ago and after that it was all about cost savings. It appears he was right as the amount of plastic and cheap parts in bandsaws today demonstrates. The “dream bandsaw” for a lot of online machinists in my hobbyist situation seemed to be the 1959-1974 Delta Rockwell 28-300 Metal/Wood Bandsaw. It had everything you could want in that category of saw. Ebay and Craigslist searches proved it—The few that did appear were sold within short amounts of time and went for over $700; sometimes in terrible shape. After several aborted attempts to buy one online I discovered that the company I work at had owned one and given it to a coworker. It was a stroke of luck and exactly the model I was looking for. I purchased it from him for $400.
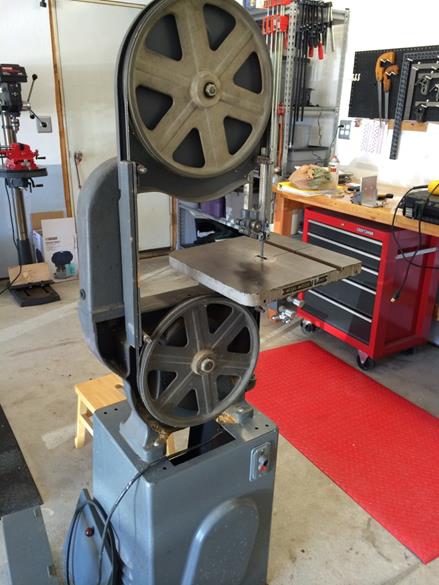
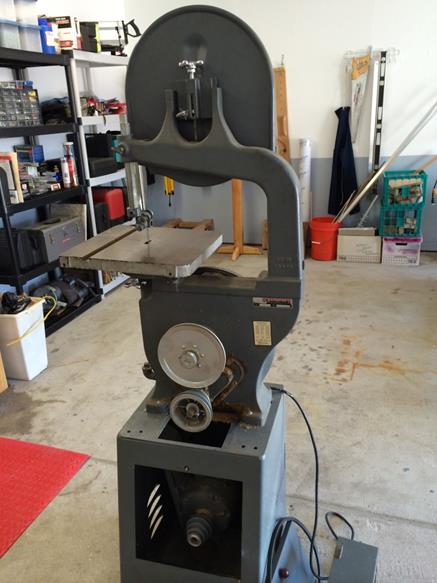
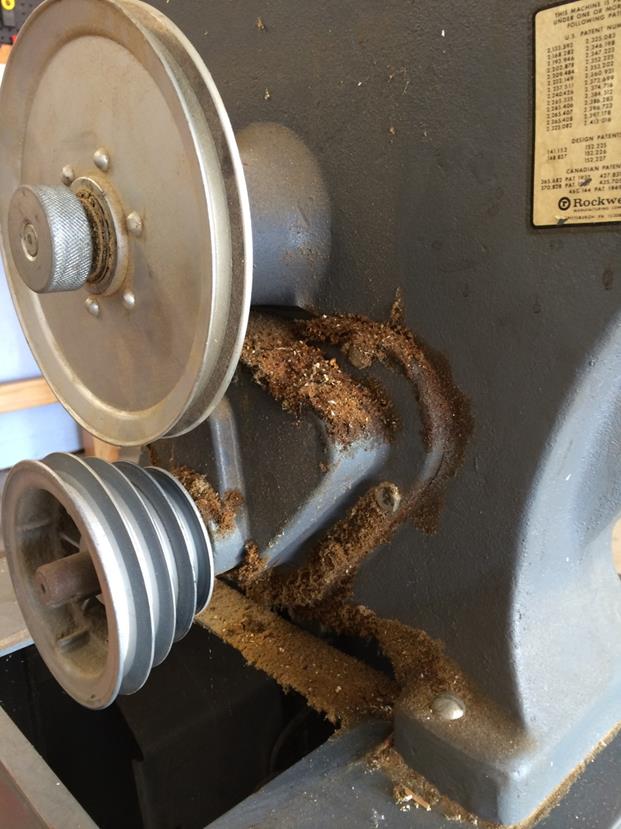
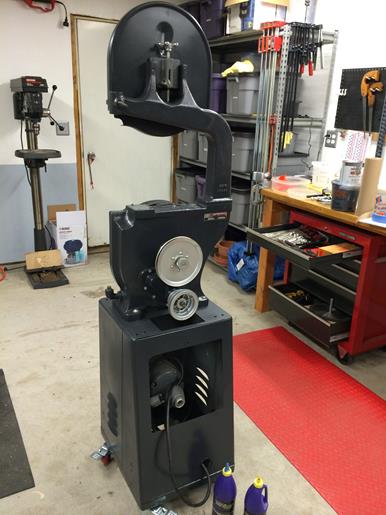
It had been kept indoors unlike a lot of the ebay saws and was usable as it arrived but I really wanted to restore it to its former glory. This tool was 54 years old. It had not been kept particularly clean—wood and metal dust on it had hardened to a resin-like consistency. The gear box oil had never been changed and the gear box wouldn’t switch gears without being pried—something that had been done in the past and damaged it. This crud needed to be chiseled off.
First up would be complete disassembly and cleanup. Purchasing a gear puller to make removal of the pulleys and gearbox components easier would help, as would some auto tools such as spring loaded clip pliers.
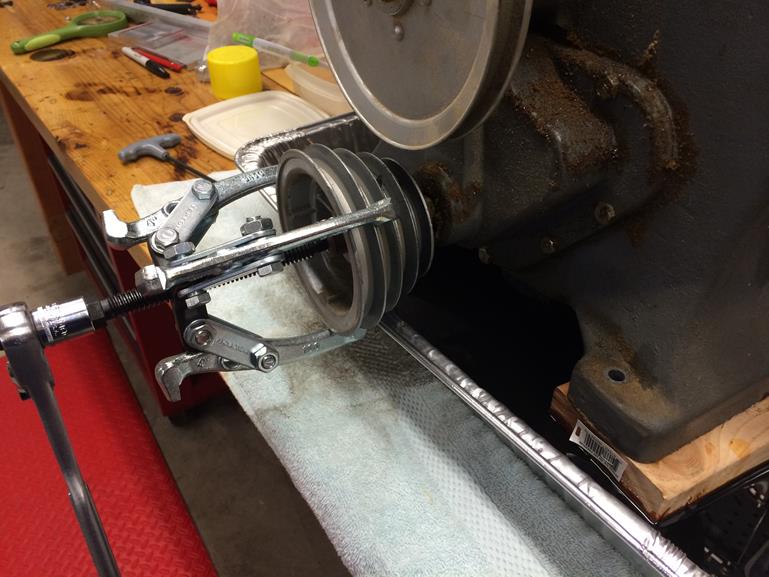
I used a lot of penetrating oil to cut through the gunk enough to be able to pull off the components. It’s amazing how hard the caked on sawdust and metal combined with 50 years of oil and moisture can be.
Disassembly was not an easy task. The entire saw is HEAVY, probably around 400 lbs. Even in pieces some are too difficult to move without help. Holding a heavy part so it doesn’t fall while working the tools on it was not easy so in some cases I used chain to hold a piece up while I removed it.
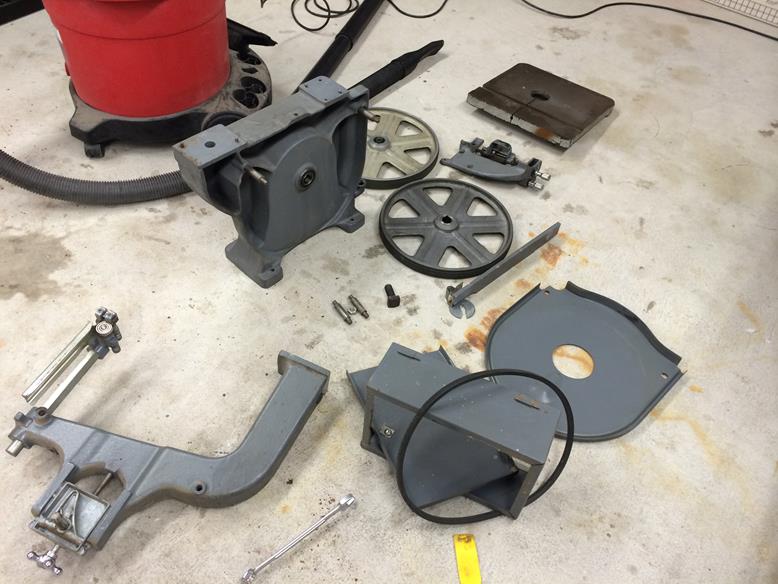
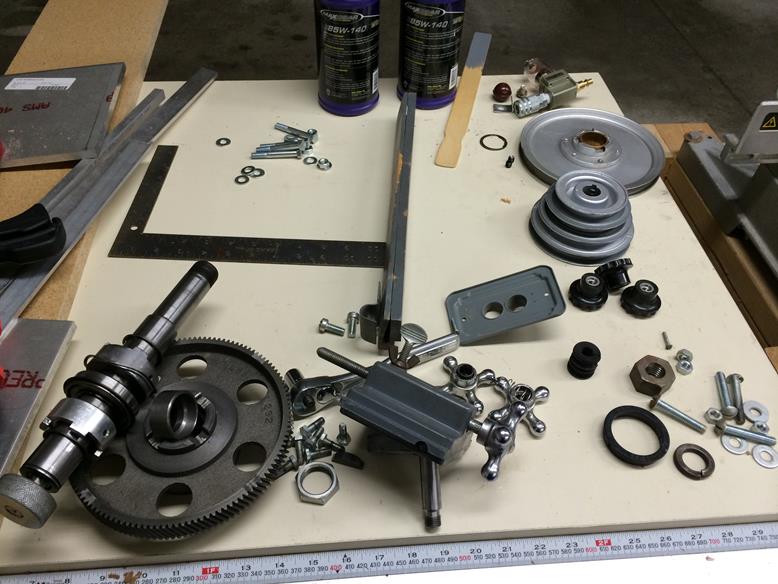
Careful arrangement of the parts to avoid misplacing them.
Surprisingly the blade tires were in good shape. No damage, just dirty and after a good cleaning were still useful without having to be replaced. That saved me about $60!
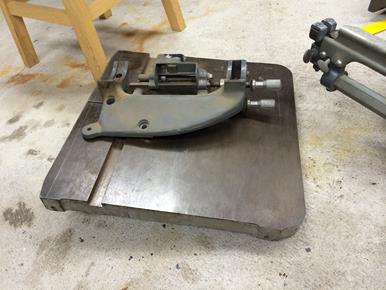
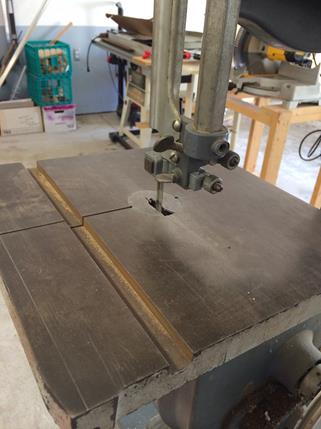
The table had a fair amount of rust that I removed with some Simple Green, phosphoric acid and elbow grease. Gradual sanding with a granite block and dry then wet sandpaper cleaned it up nicely followed with immediate paste wax to prohibit future rust. Every adjustment knob of the table & trunnions was “frozen” in place from lack of maintenance. I took apart every nut and bolt in the system then soaked and brushed them with acetone until spotless.
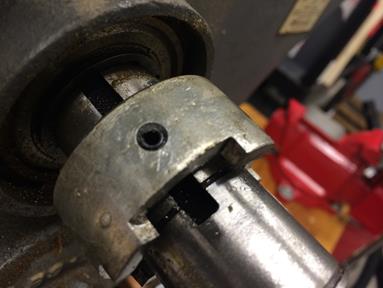
The gearbox handle, frozen in place from being pried into position with a steel file. This part of the operation scared me the most since there were over 25 parts in there and no documentation. I was very nervous about getting it back together afterwards.
This bandsaw model is unique in that it has a gearbox capable of lowering the speed of the blade to the slower ranges required for cutting metals. There were a couple online examples of people working on the same gearbox but they were always missing the “in between” steps for assembly. It was definitely a learn-as-you-go type of thing. I was careful to label and arrange parts on my benches as I dismantled them. I did make the mistake of labeling some parts with marker only to realize that when cleaning the part I washed off the label. Ugh. Practicing assembling and disassembling the entire thing a few times helps to keep it fresh in your mind and become more of a reflex.
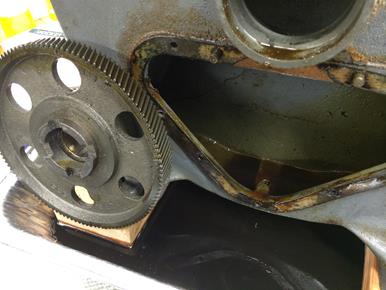
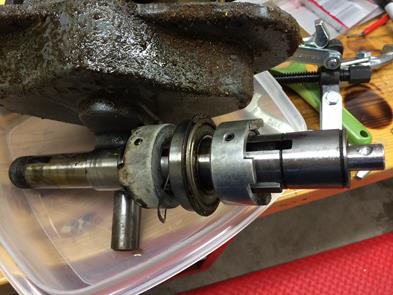
After draining the oil from the gearbox and letting it drip overnight I started removing everything. The oil was pretty thick after 50-plus years of use. I cleaned each part thoroughly with a mixture of Simple Green to degrease it and remove overall dirt, then acetone or mineral spirits depending on the makeup of the part.
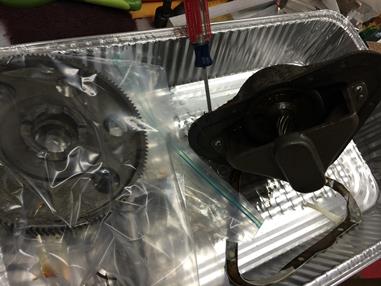
Once the gearbox was drained of the old oil I scrubbed it and its components with acetone and washed them afterwards. Since these steel and iron components have been immersed in oil their entire lives they can “flash-rust” if cleaned and left exposed to air for even a brief amount of time. To minimize this, I kept the components in sealed zip-lock bags until it was time to clean them. Immediately after cleaning I coated them with fresh oil and resealed the bags to keep exposure to oxygen to a minimum.
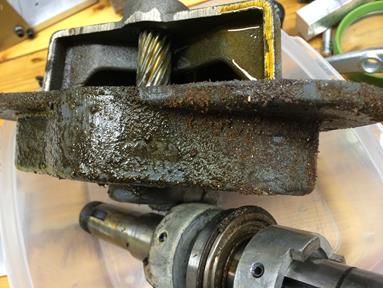
The gearbox is just large enough to get your hand into but still difficult to work within. The razor-sharp metal edges from the original castings signed their name into my hands a number of times.
The gasket for the gearbox had decomposed pretty badly but surprisingly it never leaked. I purchased some new rubber gasket material at a local auto parts store and traced the gearbox onto it to cut a new one.
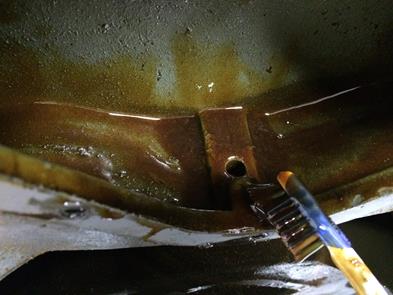
The oil was the consistency of epoxy in some places. It took a lot of soaking and brushing to get the old oil out of the system. I wore out several old toothbrushes!
Small parts all cleaned and reasy for assembly. My Tablesaw doubles as a workbench for projects like this.
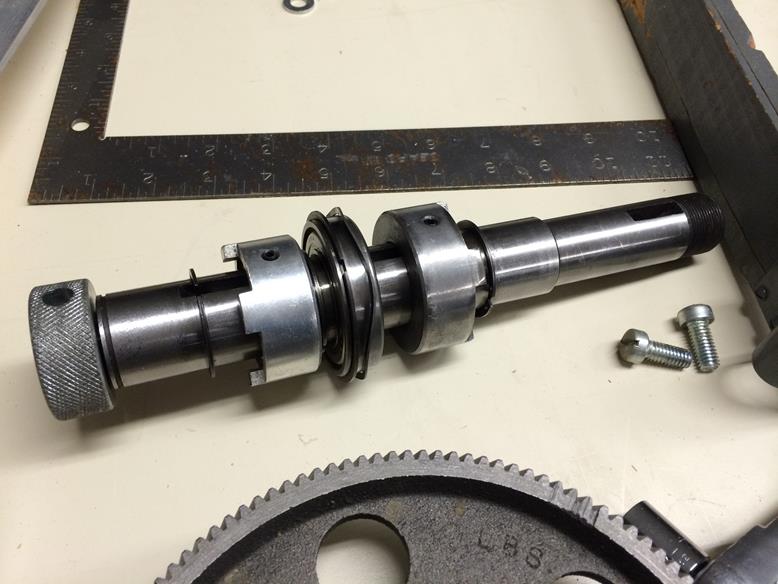
The gearbox main shaft reassembled. 25 pieces in all. I repaired some severe scratches and dings that were preventing shifting between metal and wood blade speeds. Careful filing and wet sanding made it better than new as you could shift speeds with your little finger and almost no pressure. In fact, I later discovered that it was TOO easy to shift speeds—the machine could now drift from one speed to another without pushing the shift knob! I roughed up the surface of the shifter shaft a tiny bit to fix this.

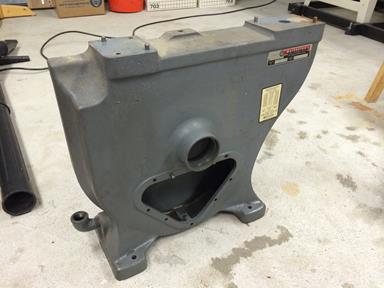
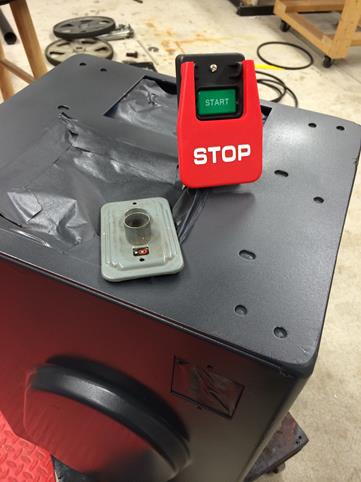
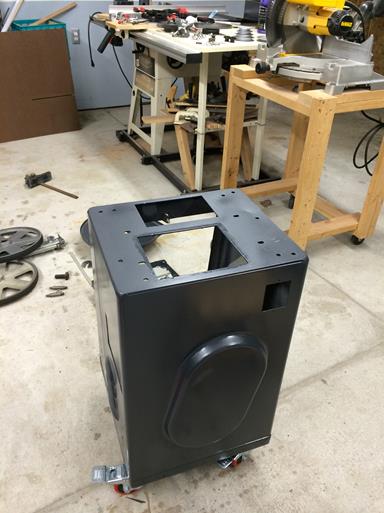
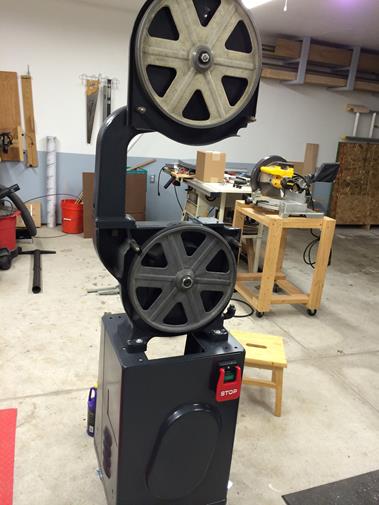
The steel base of the saw had some severe surface rust around the bottom and corners. I removed this with a power drill and wire wheels, grinding off everything that was loose through the paint. Then I power sanded down to bare metal areas around the rusted zones. Structurally it was fine and the motor was in great shape and ran smooth. The power switch was original and difficult to adjust so I took the opportunity and rewired all the internals and replace the switch with a safer version for a power tool.
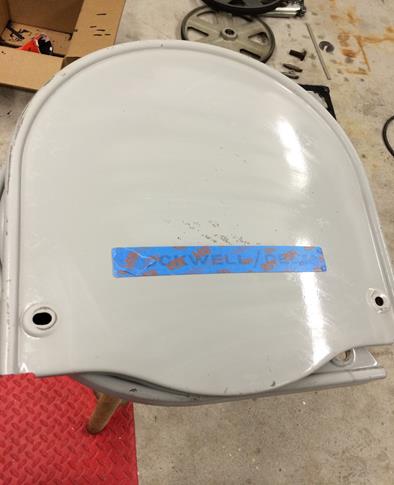
I then masked everything off and painted. The base I airbrushed with a dark gray/blue custom mixed from various Rustoleum enamels to get the color I wanted. I really like the Rustoleum brand and it dries very hard to provide a lot of protection. It does need to be thinned a bit to get through the airbrush smoothly. It was important to me to preserve the original metal labels on the saw.
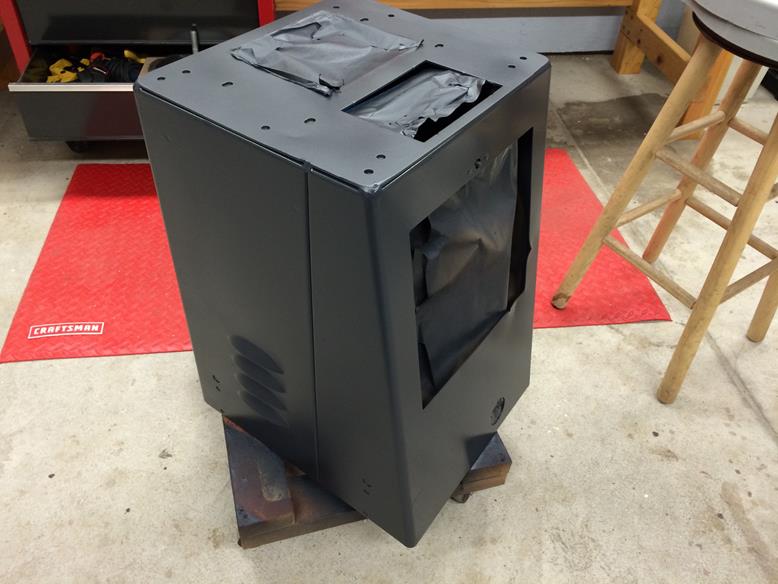
Five coats airbrushed on with drying time between each. It’s important to let the paint cure for a week or two after drying to avoid easily scratching it while assembly.
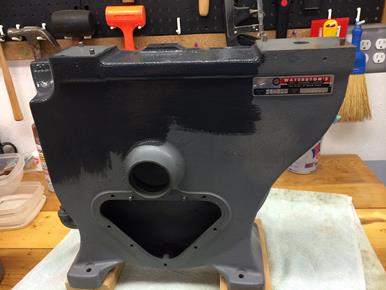
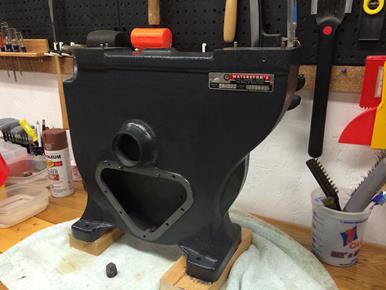
The cast metal parts I brush painted by hand. Because the brushing can be done with thicker, unthinned paint only 2-3 good coats are required.
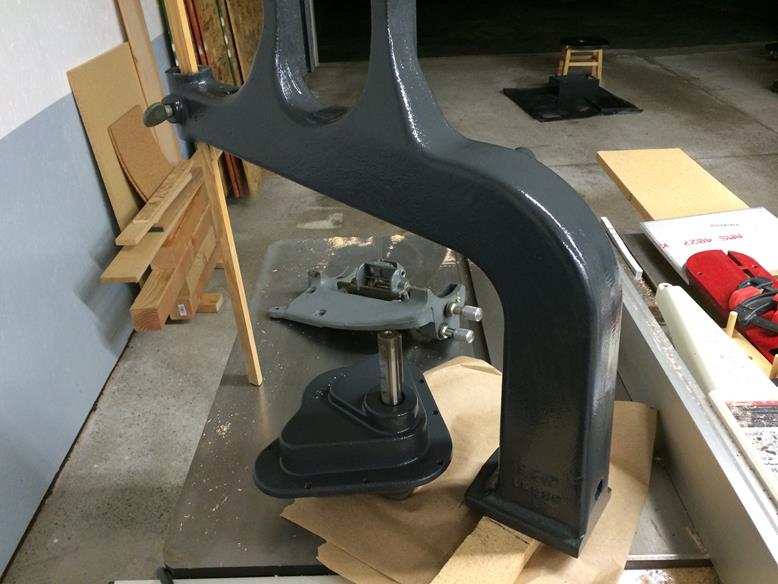
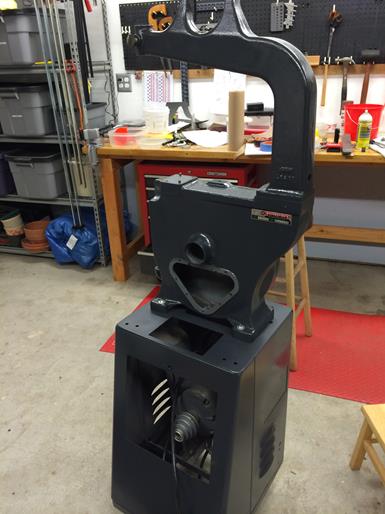
Reassembly begins, from the ground up since it will get heavier as I go. This is when I realized how difficult it would be to move once put back together. In another bout of “sub-project” I stopped on the bandsaw to build a heavy duty wheeled base for it. Some painted studs and heavy locking wheels later I had a base to build upon.

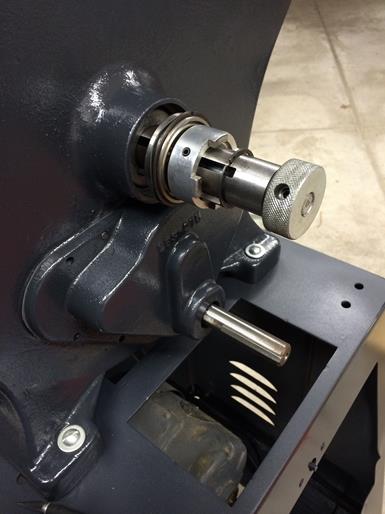
After carefully reassembling the jigsaw-puzzle-of-a-gearbox I purchased two quarts of 85W-140 gear oil and filled the gearbox, watching carefully for leaks. Not a drop (whew)!
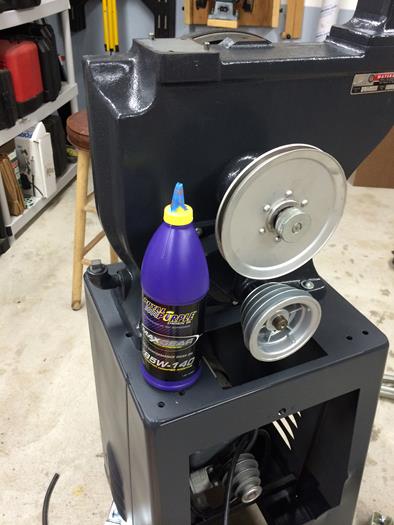
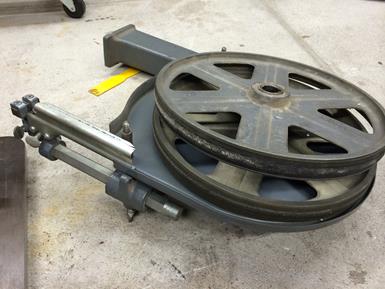
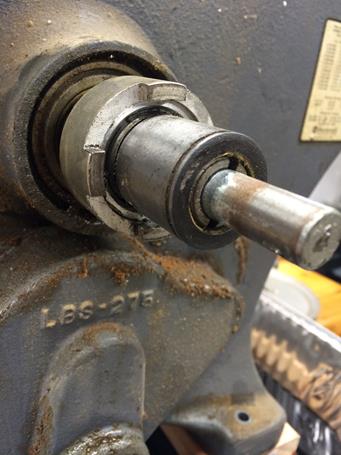
I reattached the pulleys, rear shields and tensioning apparatus hardware.
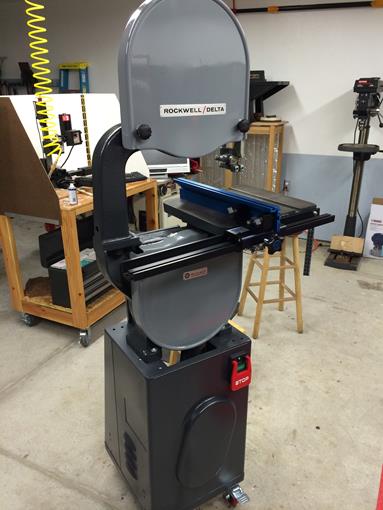
The wheels went on next. The original bearings did not need to be replaced which was nice because it saved me about $120. The covers I painted a different color to stand out a bit. The saw was missing it’s original Fence. After a bit of research I purchased a Kreg bandsaw fence. It fit the saw perfectly and was highly recommended, not to mention it was a cool blue anodized aluminum!
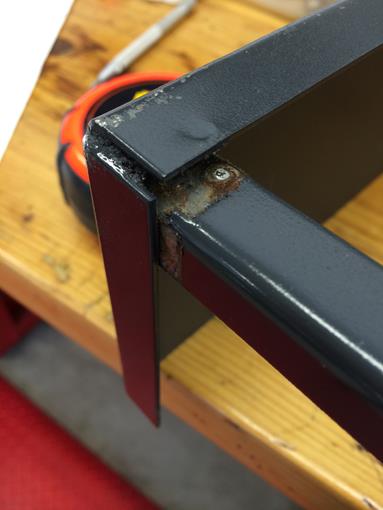
During assembly I dropped the gearbox housing frame onto the concrete floor of my shop. Two of the welds in the steel broke. A friend repaired it for me with a little welding and after some more paint I reinstalled it. The metal clips that originally held it to the chassis were missing so I drilled some holed and bolted it into place properly.
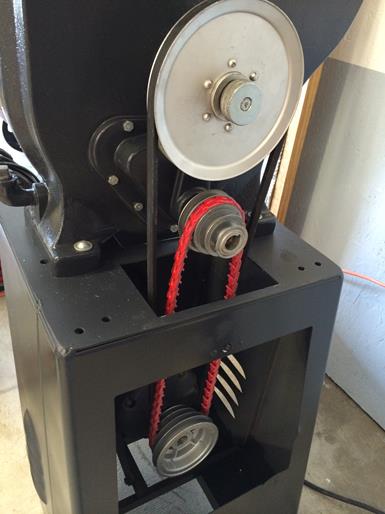
One of the original belts was missing. This model can operate with both belts on at the same time as the gearbox shifter determines which belt is in use for all but two speeds. No matter what I tried, I could not get the motor tension set so that both belts would be set properly at the same time using the recommended belts. I switched from a rubber belt to an adjustable link-belt for the second one in order to finesse the size until it worked perfectly. The link belts are more expensive than they should be but worth it to get a proper fit. Contrary to popular belief they don’t seem any quieter than a normal belt. I think that’s a myth started by someone who had old belts that were “set” into place, then “throbbed” as they hit their flat spots on the way around the pulley and caused vibration.
I picked up a new bi-metal 8 TPI blade for the saw as well.

Another project-within-a-project: To cut down on the amount of dust and metal chips getting everywhere I created a “debris catcher” for the bandsaw. It seems like 90% of the debris is right after the blade cuts the material (naturally). I roughed out with cardboard and box around the blade immediately beneath the table. It encloses the blade almost entirely where it exits underneath the table and bolts into place. I then traced the cardboard onto 1/8″ acrylic sheet and welded it into shape with acrylic glue. Nasty stuff, that acrylic glue, but not as bad as MEK cement. I attached a rubber adapter for my shop vac to suck out the debris during use.
The vacuum attachment works GREAT! Very little debris makes it past. The little that does falls out the bottom of the bottom blade cover and is easily swept to the floor. It does make me want to build a quieting enclosure for my shop vac!
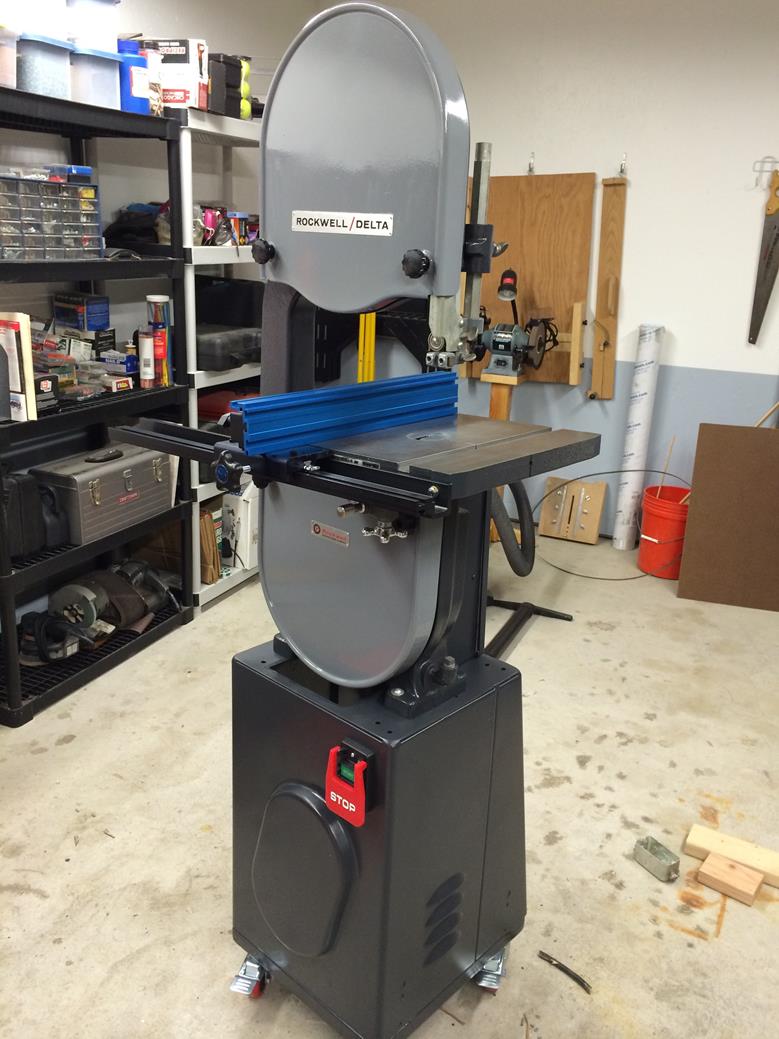
I’m extremely happy with this project! It runs as well or better than any bandsaw I could have purchased new and cost me about $150 in parts not including the fence. It is very quiet and has been cutting metal like a dream. I learned a lot during this project and am considering restoring some other older tool because of it.