It took another coat of primer, sanding with 220 grit then wet-sand/polishing with 600 grit paper to get the fins to a silky smooth surface. Now that I’ve completed the whole fiberglassing process for the fins I’m 95% satisfied with the results. I think the fiberglassing process gave me fantastic strength but the amount of labor to finish the outside of the fins and get a glassy-smooth surface just wasn’t worth it. Given another take, I’d triple up the heavy fiberglass on the interior of the fin between the perpendicular basswood layers but I’d skip the fiberglassing of the outside of the fins and go with multiple coats of sanding sealer. The pinholes and slight waves in the fiberglass surface just involved too much work to get a glassy finish.
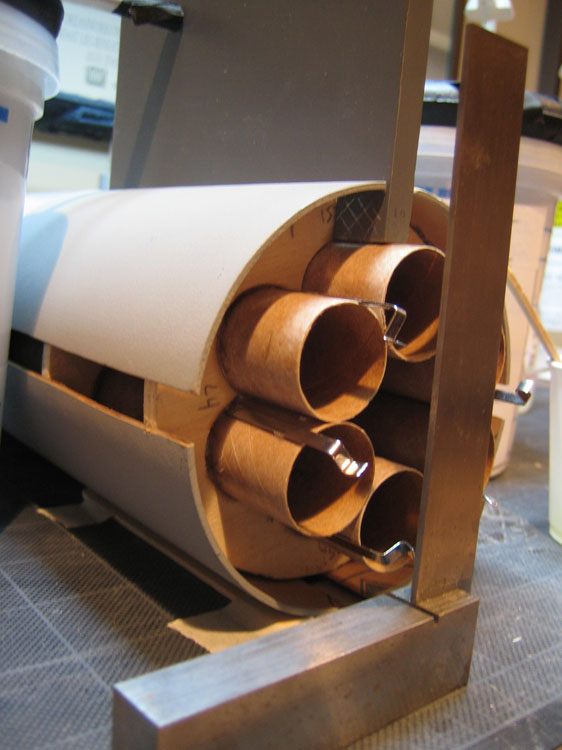
First I scraped the root of the fin down to the wood and soaked the edge with pure epoxy to allow it to sink into the wood for a few minutes. After dry-fitting the engine core into the main body, I added cabosil thixative to the epoxy to keep it from running and applied it to the engine core fin location through the body slots. Now the fin could be inserted into the body slot without worrying about the engine core or fin being glued to the body. By not gluing the core or fins to the body I’ll be able to remove them and reinforce the fins and core later.
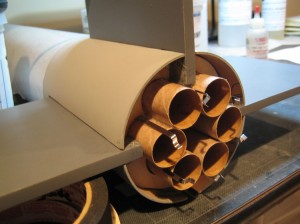
Second fin epoxied on (1 every eight hours, allowing time for the last fin to cure and not “drift”. Gravity is my enemy when gluing up. Pulled the engine core our to check that everything was still removable–didn’t want to find out it was too later after the fourth fin….then put it back in for the third and fourth fins.


