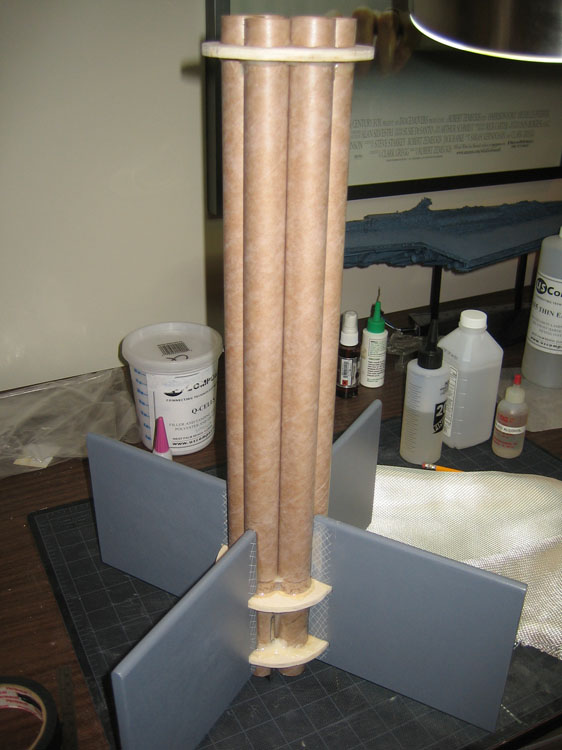
Now that the four fins have had their bases epoxied to the engine core using the outer body as a guide I can remove the core and begin reinforcing the fins and interior.
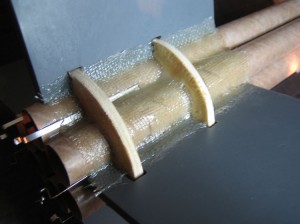
I purchased some heavy duty fiberglass cloth for the reinforcing of the engine mount tubes, fins and centering rings where they all will bond together. For this I used pure epoxy (no thixatives or micro-balloons) so it could saturate the thick cloth and seep into the wood surfaces for a secure bond.
 Thanks to my old friend gravity, I could only do one side per day. This prevented the epoxy from dripping down fins or running down the body. The US Composites Epoxy I use is extremely thin in it’s purest form giving it a good soaking bond but runs are quick to appear. Even though the pot life was 15 minutes I wanted to make sure there was no chance of runs. The pure epoxy is very hard to remove or sand.
Three layers of heavy 6 oz. fiberglass cloth/pure epoxy across each fin root/centering ring/engine tube. Then a wrap of one layer of 6 oz. cloth around the entire remaining length of the engine core tubes for some added strength. This should help distribute the engine thrust across more of the length of the main body tube.
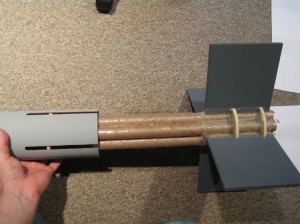
A test fit of the finished engine core/fin unit into the slotted body tube showed that it all fit together. Whew!
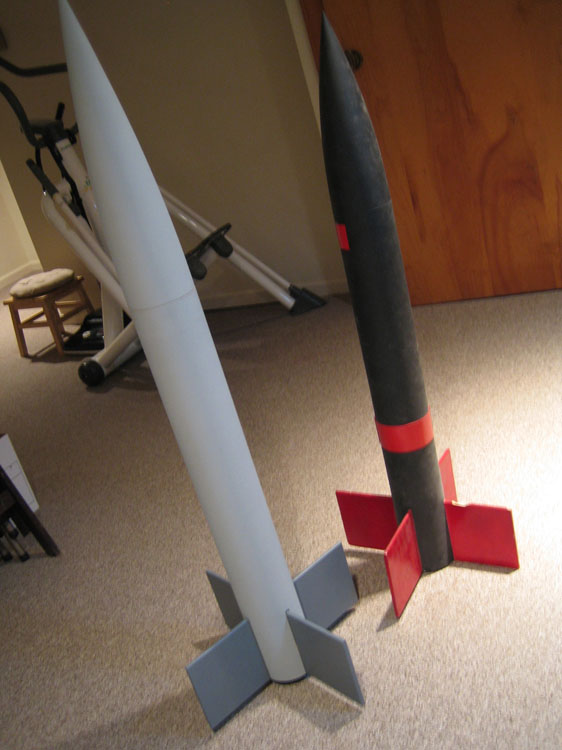
Side-by-side of the last version with the current version ready for final assembly and final primer & sanding. The new baby is a little taller because of the difference between the old Estes-BT101 nose cone and the PML 3.9 Nose cone but this couldn’t be helped without turning my own nose cone. Since I don’t like lathes this’ll have to do. I did shorten the body a couple inches to help compensate but the added length will help compensate for the heavier tail due to added engine weight. Looks like the center of gravity will be darn close to the location of the original helping to maintain stability. A trip through the RockSim software helped confirm this theory.


