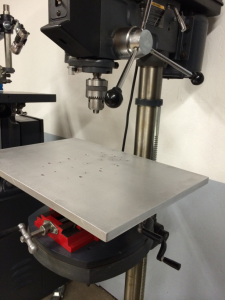
After much frustration clamping small parts to my drill press table I decided to make a Tooling Plate similiar to the one I built for my Sherline Mill. By using the same sizes for mounting hardware I can use holding tools on both devices without having to purchase two different sets.
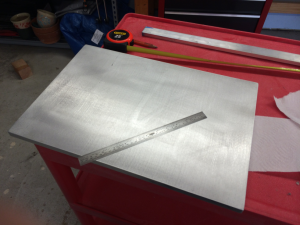
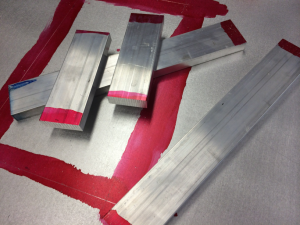
First a trip to the local metal dealer for some good “drop” scraps. I was planning to use 14 x 18″ x 1/2″ aluminum plate but the thinnest in stock that day was 5/8″. Heavy, but good and solid for about $50. A few passes with the random orbital sander on top and the belt sander on the edges to smooth it all out yields a good surface for drilling. Remember, this isn’t supposed to be a surface plate.
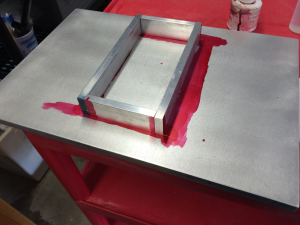
The plan is to build a frame of 1-1/2 x 3/8″ bars and bolt it to the bottom of the plate. This frame would them be easily grabbed by my my XY Table. Then when I position the XY Table, the ToolTable can be (relatively) precisely placed.
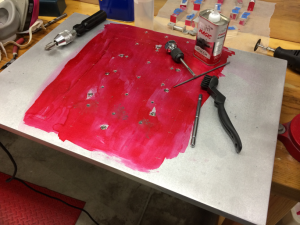
I drilled, chamfered and tapped eighteen equally spaced 10-32 holes–the same size Sherline uses for all it’s clamping devices. The thicker plate took some time to tap. Good for the forearms.
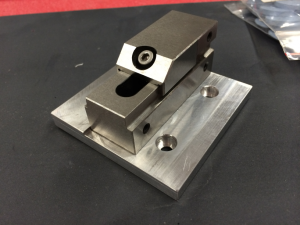
I also drilled and tapped several specifically spaced holes for items such as Sherline’s vise and a small precision vise I use that I previously mounted to a small plate for tiny items. This plate’s holes are set to work fit into Sherline’s T-Slots both along the X or Y axes.
Now the frame could be bolted with more 10-32 machine screws. These were drilled and counter-bored into the table top and set just below the surface to keep it smooth.
The finished product! It’s now easy and fast to make small positioning adjustments in both the X and Y axes when setting up to drill. It’s important to remember that the base XY Vise, being a cheap product, has lots of backlash so I always lock the vise leadscrews down before drilling.
