Category: <span>Models</span>

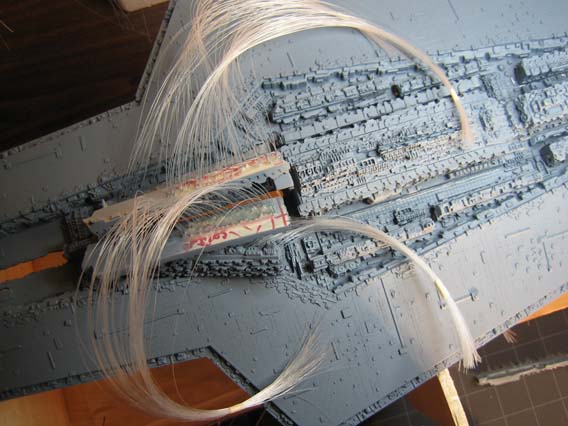
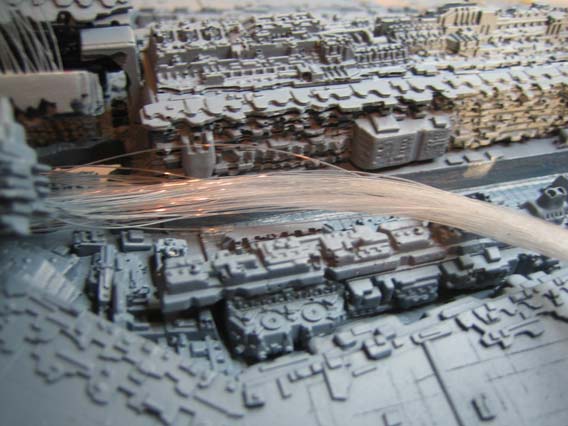
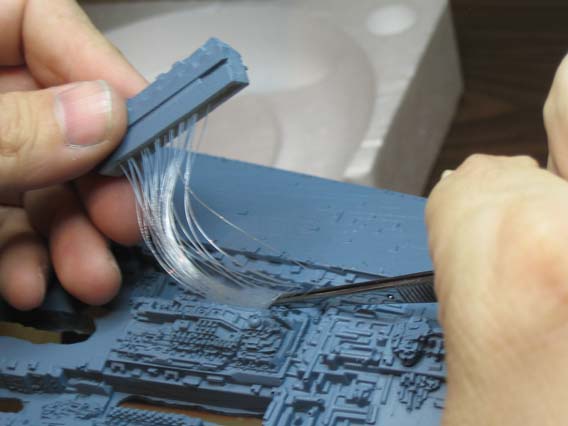
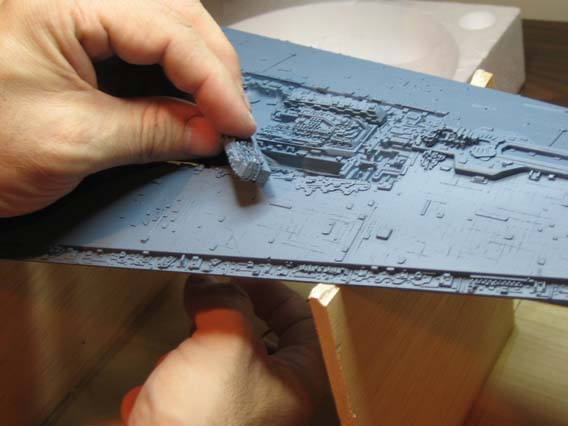
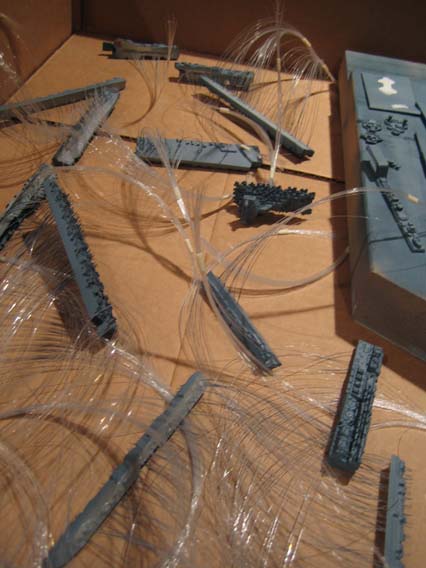
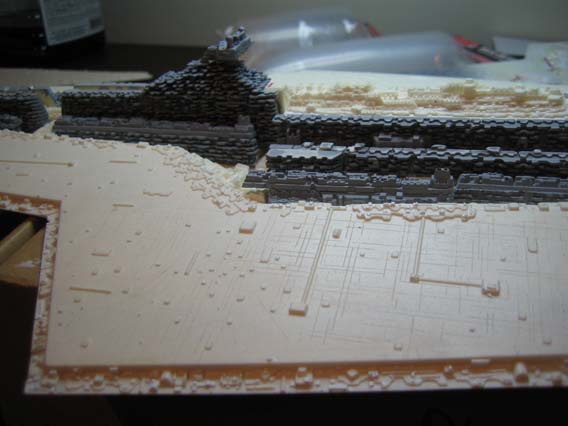
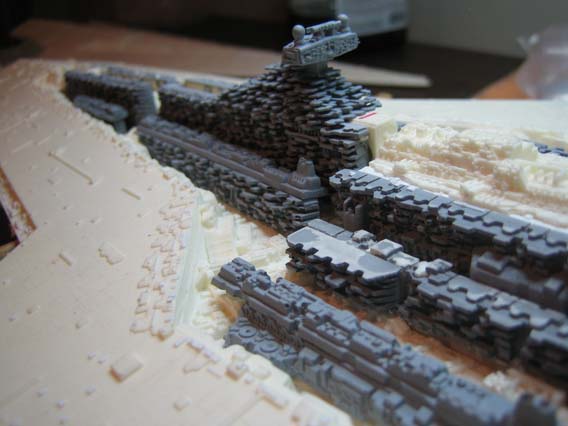
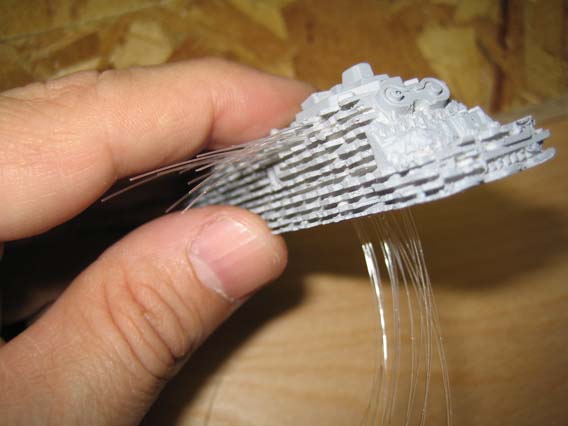
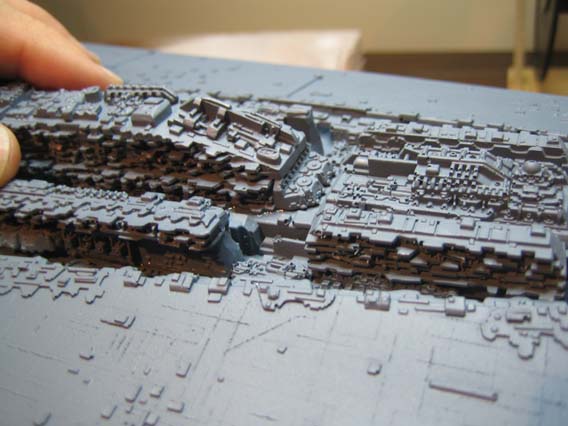
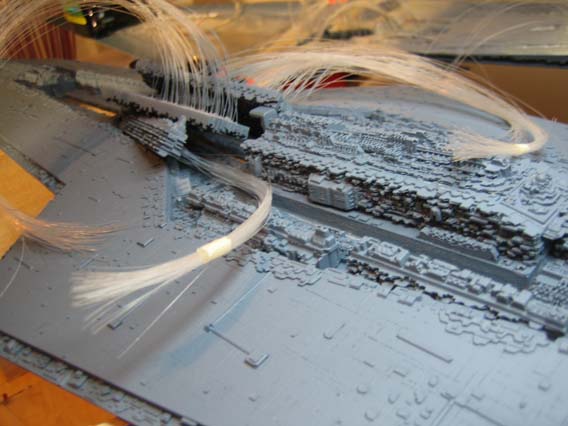
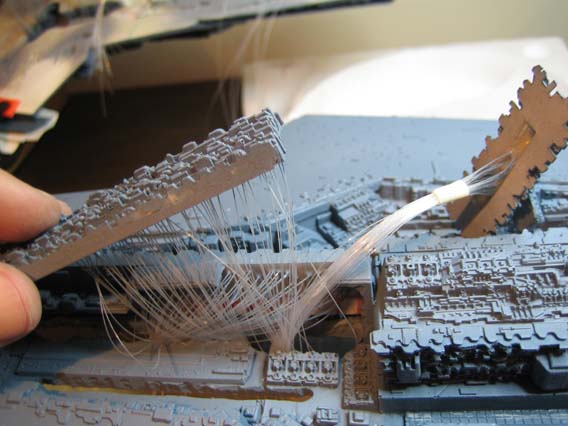
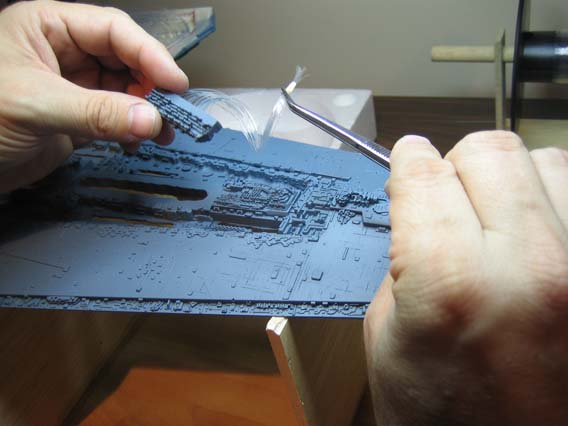
More city final assemblies…..I can only do 1 or 2 a night since the surrounding cities need to be dry fitted each time to be certain of alignment. It’s a very tight fit and the fiber makes it even tighter. No room for mistakes.
 

img_0073


img_0074


img_0075


img_0076


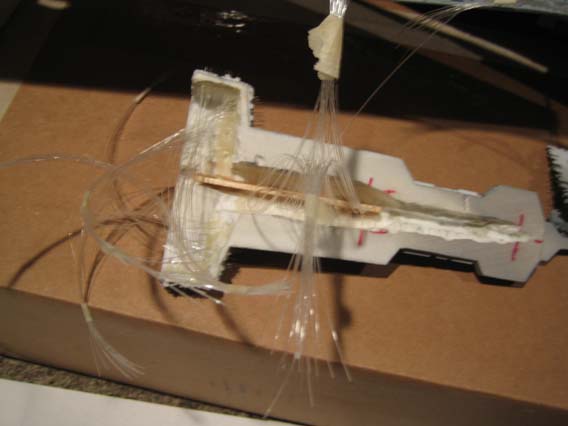
Because of the large amount of fiber I had crammed into the bridge/conning tower and the number of fibers in the surrounding cities, it got quite right in some areas of the center of the model. Snapping fibers happened often (along with cursing) as I jammed everything into place. Nothing like 30 minute epoxy for keeping you on a deadline.
 

img_0077

Executor

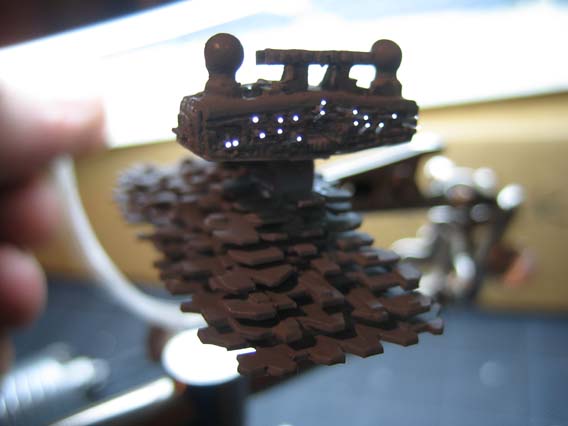
Assembly after final painting. Paint was a mix of 6 parts ModelMaster Intermediate Blue, 1 part Blue Angel Blue, and 6 parts mineral spirits. Thin paint, just like the primer, to avoid filling in the surface details. Approximately 3 very light coats. I keep a large halogen lighting rig on the model as I paint to keep it warm–not enough to dry the airbrushed paint too fast as it sprays.

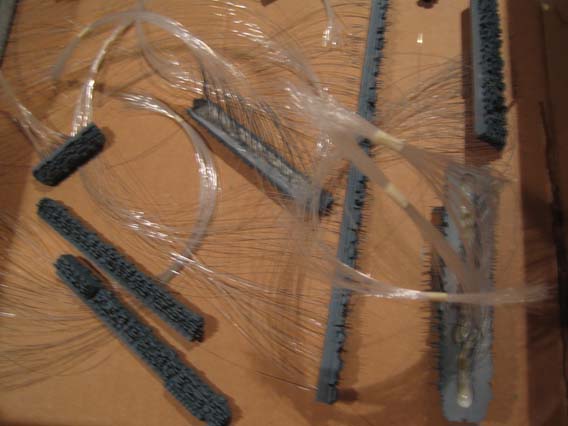
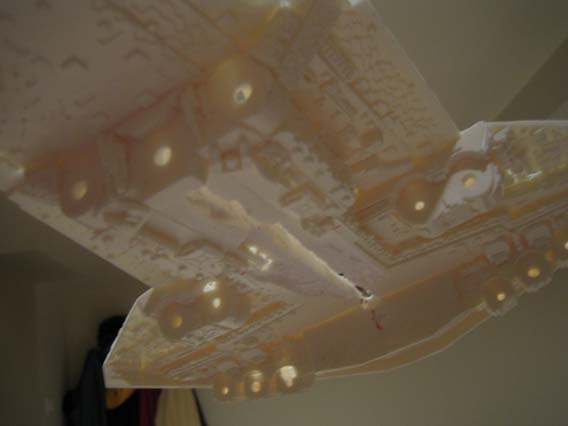
Time to epoxy the assembled cities and feed in their optics.


img_0066


img_0067


img_0070


Hurray! The two smallest cities in place……26 more to go, ugh. Better stock up on epoxy.

Executor

More sensor domes and a damn fingerprint in the sculpy that I didn’t catch! The thin primer flowed right into it! That one will have to be fixed!


img_0065

Executor

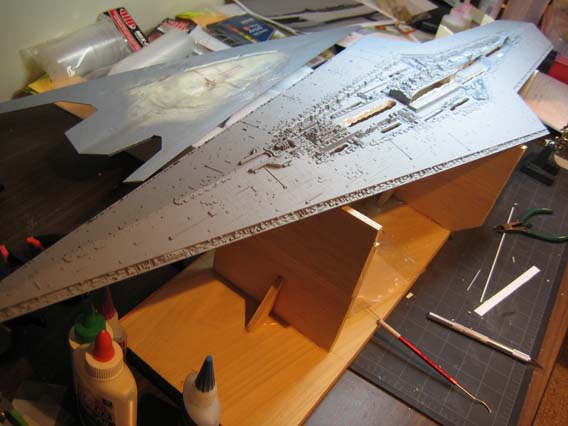
img_0064The detailed & primered hull ready for city assemblies. Because of the incredible number of surface angles, I built each city separate and painted them individually. Otherwise, I would never have been able to get paint into the detailed areas later.
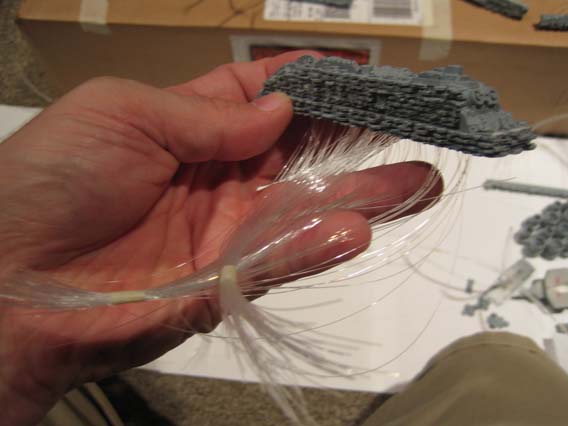
img_0055


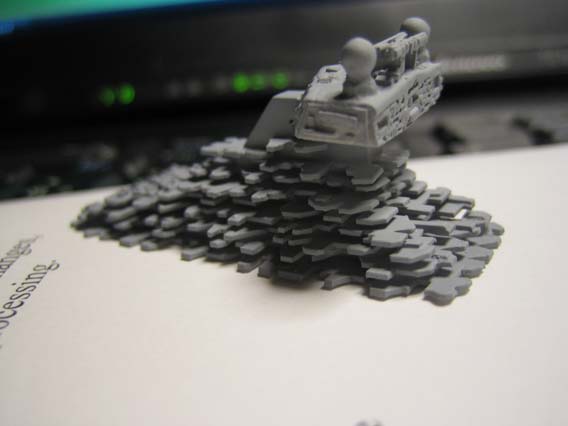
An investment in a better compressor helped make airbrushing a lot easier. Everything was primered in gray with 2 coats. I keep the paint/thinner very thin because of the thin surface scribing and details.

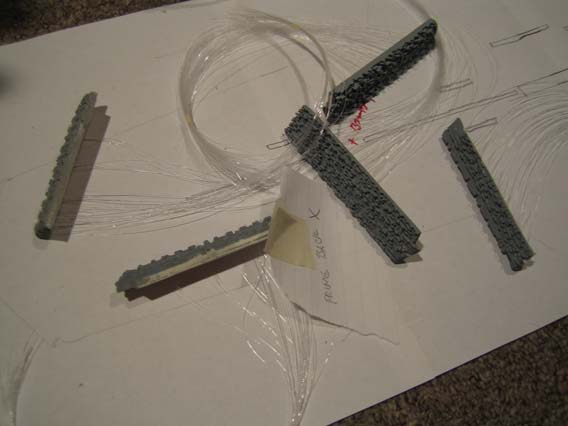
Cities primered and fibered.

img_0056

img_0058

img_0063

Executor

Time to get serious about the lighting.

As I began filling the cities with windows, I realized that the holes were so small (almost .25 mm) that I was losing them between the layers of detail! I had to make a small backlight that I could place into each city so I could find the tiny spec of a window. Because the resin was thick, the light needed to be directly behind the hole to find it.

img_0049


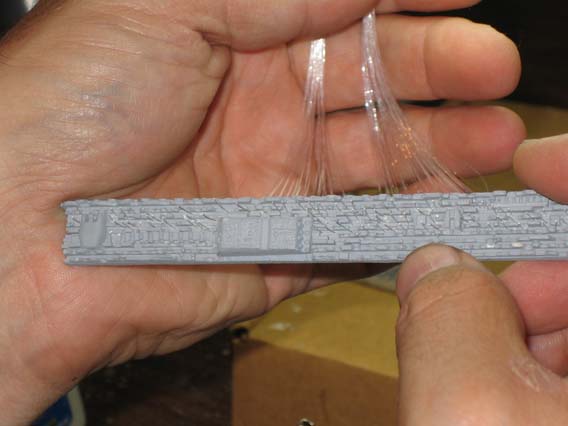
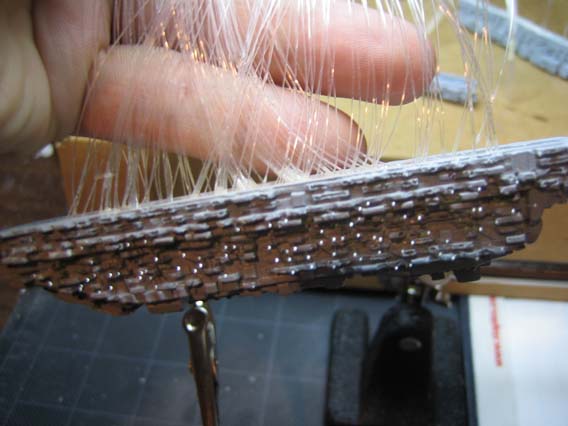
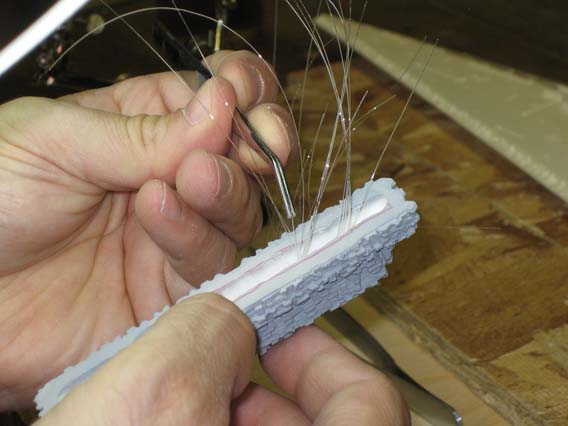
Another side effect of all the lighting–the fiber optics, once bundled, began to take up quite a bit of space within the cities. The density of the optics made it very difficult to continue threading optics into their windows. I began doing the fibers one layer at a time, gluing with white glue, then waiting for the layer to dry overnight before continuing. Tedious, but it worked. Individual bundles of fibers have to number close to 100 in order to use the full surface of an LED and still be lit.

img_00511


img_0052

Executor

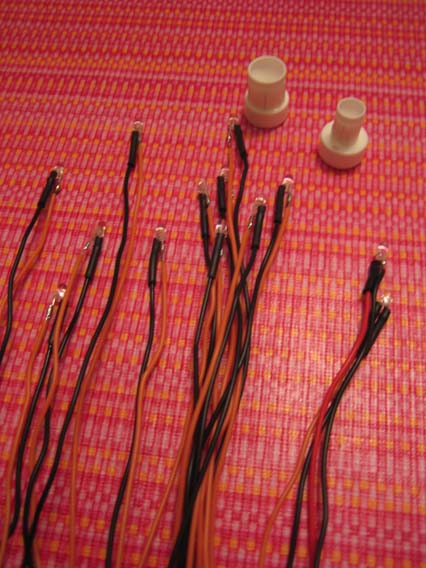
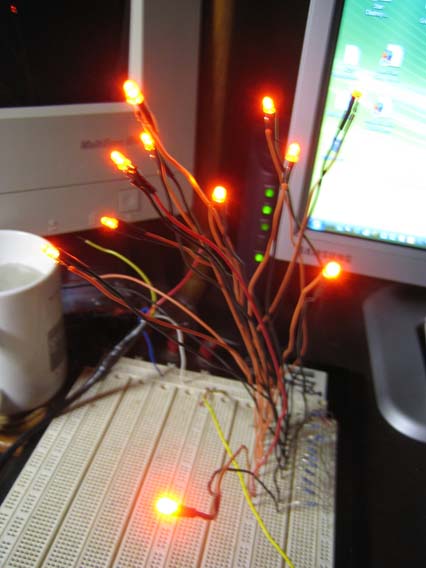
Engine lighting. 13 Submini orange LEDs. A lot nicer than when I used to light models with grain of wheat bulbs and melt the plastic if the fans went out.


img_0047

img_0048

Executor

Surface nurnies are still being added. I work for a couple hours on them, then get bored and do some lighting and dry fit cities. That’s probably a good thing as it keeps me from establishing a pattern in how they’re laid out.

I opened up the surface scoring a bit to get some more texture on the large flat areas. As the detail begins to fill out the surface feels more coherent and less flat.


img_0045


img_0046

Executor

Bridge/Conning Tower/Superstructure hollowed out, drilled and primered for fiber lighting.


img_0042


It’s always very cool when you first get to see lights activated! The fibers are long right now. They’ll be trimmed flush after final painting.


img_0043

Executor

Bridge after scratching the detail with new nurnies and scratching a new antenna structure. 30 pieces in the antenna had me bleary-eyed.

img_0037


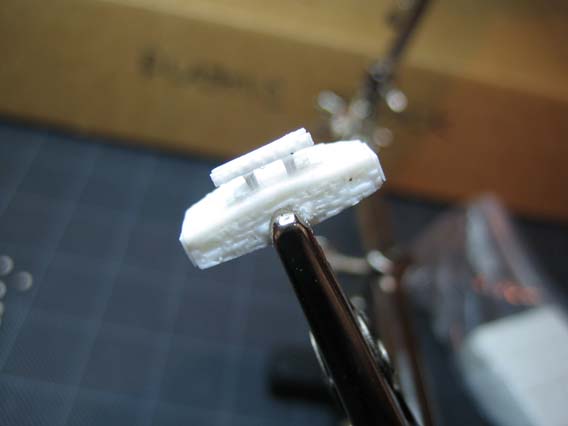
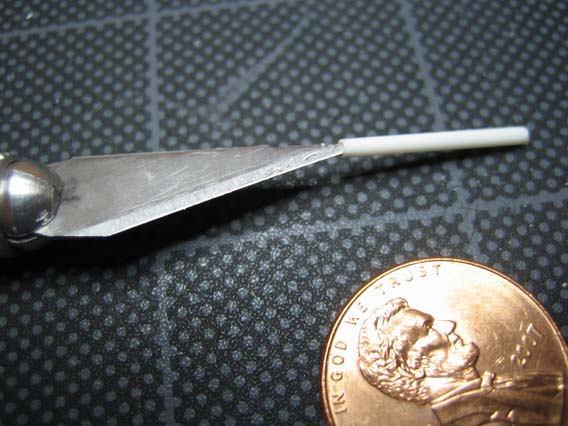
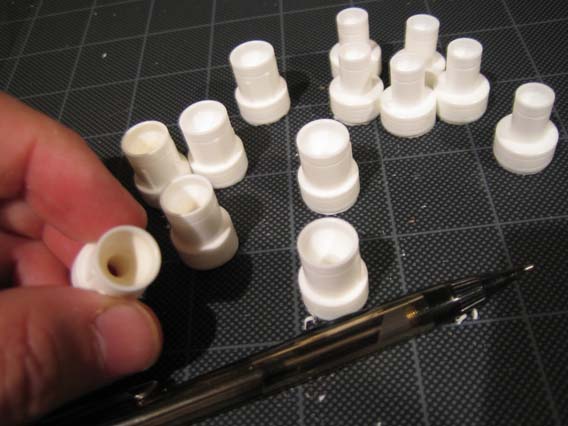
Supports for the sensor domes needed to be so tiny that I couldn’t find tubing so I had to hollow out the ends of solid plastic cylinders. You know you’re working on small items when you start to notice the flaws in the metal surface of an X-Acto blade.


img_0039


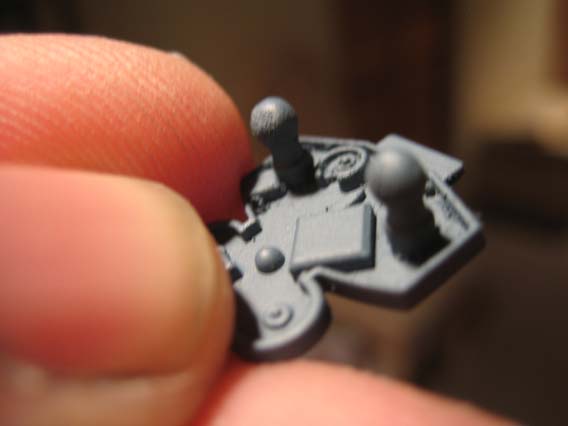
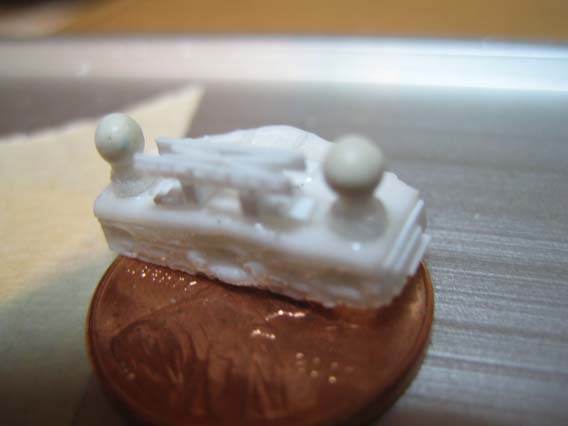
Sensor domes taking shape–two for the top of the bridge (as with all Star Destroyers) and four more for the body because Super-class ships have extras.


img_0040

The Bride/Conning Tower takes shape

img_0041

Executor

The bridge and it’s superstructure developed a life of their own. I just wasn’t happy with either one of the castings so I decided to scratch build a superstructure and rebuild the bridge.

The original bridge, filed down and patched to make it more symmetrical. It also needed to be hollowed out because a bridge without lighting isn’t worth having.

img_0028

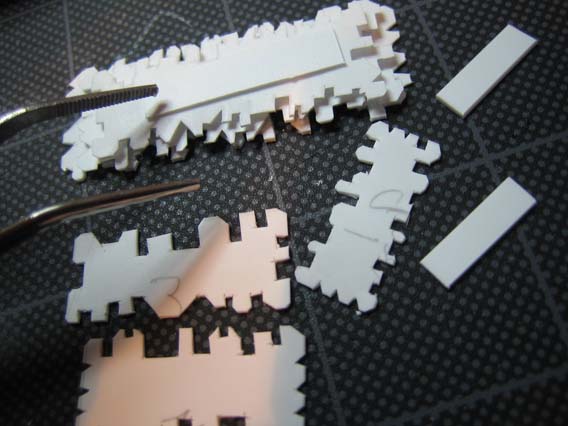
Layers of superstructure and base city cut from styrene and layered together. They are separated with more styrene to get space between them that will later be filled with lighting.


img_0032


A dry fit of the new bridge and superstructures. Still needs lots of detail.

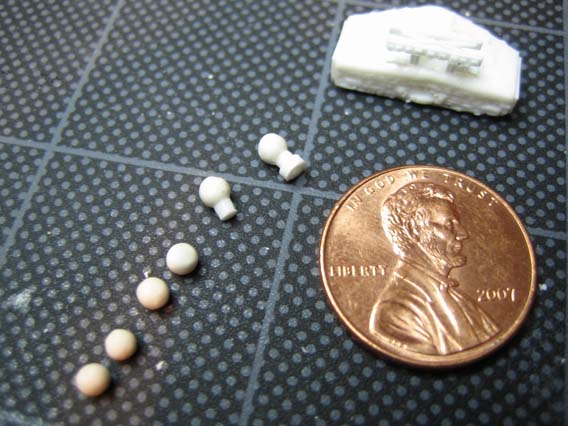
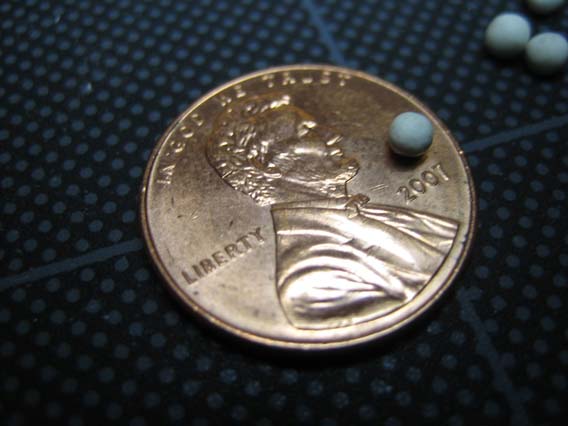
I couldn’t find any spheres the right scale for sensor domes so I made some from sculpy. After making several dozen, I baked them in the oven and measured them with a micrometer to find several that were the right size. I also dropped them down the stairs once along the way….try finding these on the carpet.

img_0038

Executor

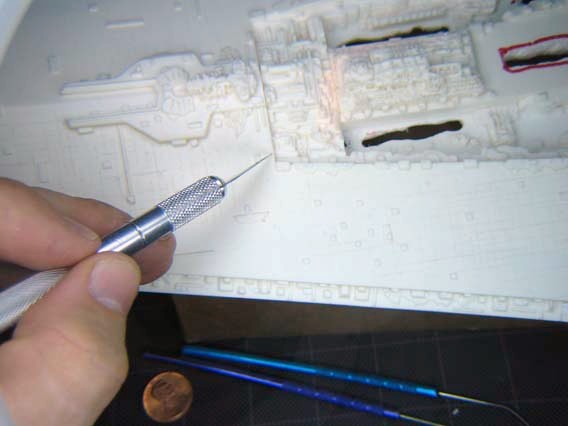
Because the most of the nurnies were so small I used to point of a fresh #11 blade to pick them up–static electricity seemed to keep them attached. I used the split eye of a needle as a tool to ferry ultra-thin CA glue under the nurnies with capillary action. This method worked out well with very few mistakes since the place could be centered before the glue was added. Adding lots of details to the surfaces here.

img_0027

Executor

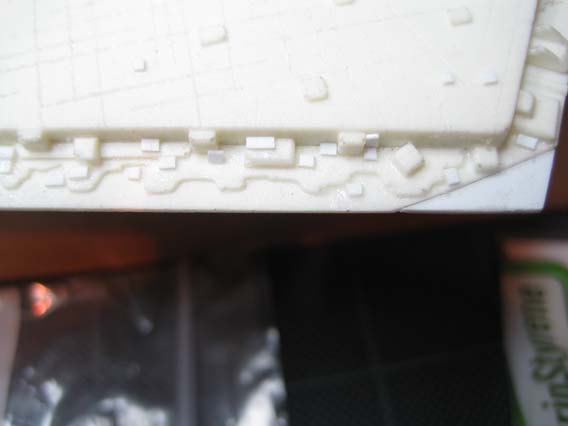
Details and repairs. Some of the thinner resin broke off during casting and needed to be repaired. I also began adding more details in the way of small plastic nurnies, greebles & wiggets. My local hobby shop has a lot of stock styrene very small sizes and strips which I cut into thousands of small shapes. Had to stock up on #11 X-Acto blades for this project.


img_0025

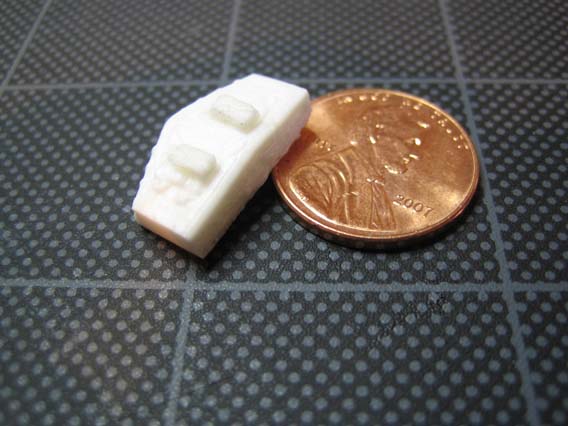
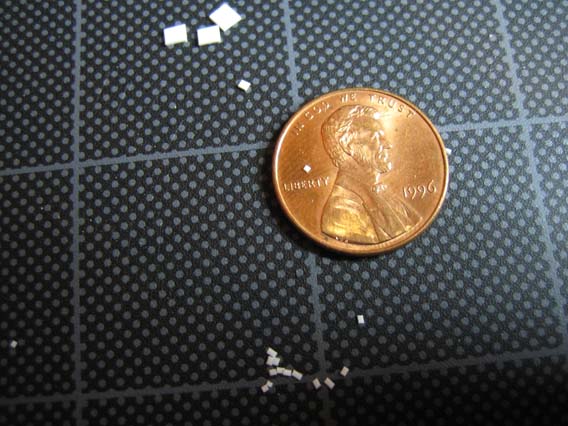
An average sized-nurnie on a penny for reference

img_0026

Executor

Because some of the work was so tedious, I would jump from carving to lighting to electrical and back. Today I felt like lighting and I was curious to see how the fiber lighting would look.

I purchased approx. 4,000 feet of .25 mm fiber optic cabling for lighting the cities and used about 3,000 feet of it. Manually drilling with a pin vise was just too slow. I found a pin vise that would fit into a Dremel-sized chuck, so using the Foredom FlexShaft and a #70 drill bit in the pin vise on at about 10 rpms works well. Any faster and the plastic melts or the bit breaks. Surgical tweezers are a must for threading the optics into their homes. Another worthy tool is a magnifying lamp.

This is the largest city being assembled and lit.

img_0022

The first 15 fibers showed that the lighting would work well for scale. This city will end up with 400 lights by completion.

img_0024

Executor

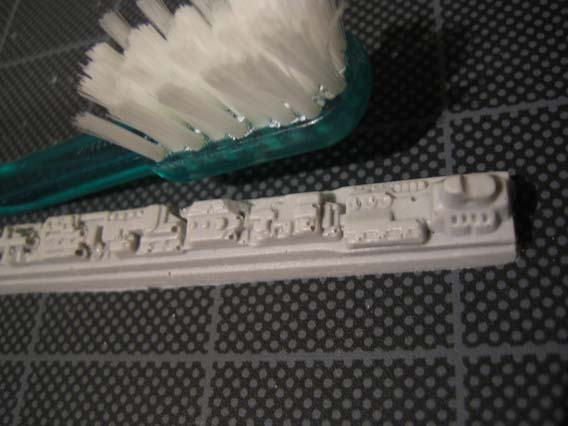
Closeup of a resin equatorial trench (1 of 2). As I began to detail these, I had some trouble with glues. It turned out to be the mold release agent from the resin. Although I had scrubbed every part with warm water and soap, it took a second scrubbing with SimpleGreen to really get rid of it. Good lesson for the future.


img_0021

Executor

Rear body cored out with most of the curface in place and ready to detail. Engine light wiring tunnels in place.

img_0017img_0018

Executor

Of course, thirteen engines will need to be cored out for lighting. These puppies need a lot of extra details.img_0015

Executor

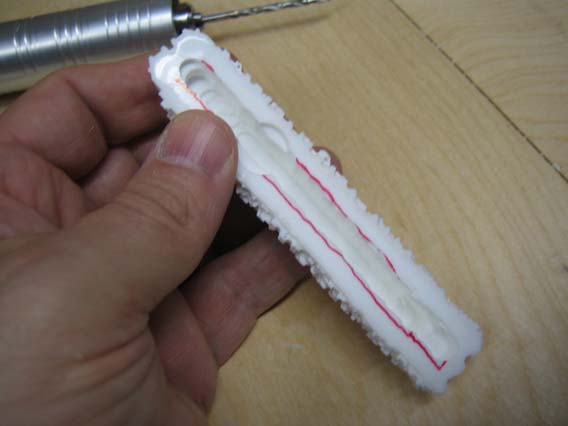
It only took a few attempts to realize that all the boring and grinding that I was going to do required a better tool than the drill press and scalpels. I invested in a Foredom FlexShaft. Do mistake it for a Dremel–the difference is night and day. The Foredom and footpedal can go as slow as zero RPM. This is a necessity for working with resin & plastics. A good FlexShaft setup is about $300 and worth every penny. A local watch repairman gave me some great advice on bits and pointed me towards a local jeweler supply shop. They had the FlexShaft and a lot of other tools I needed. I now was grinding out cities faster and a lot safer.

img_0010

Executor

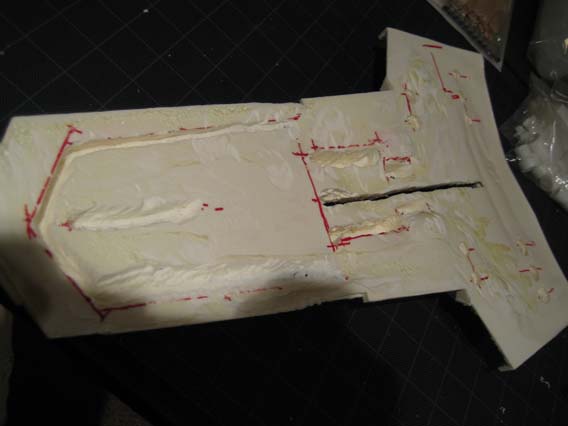
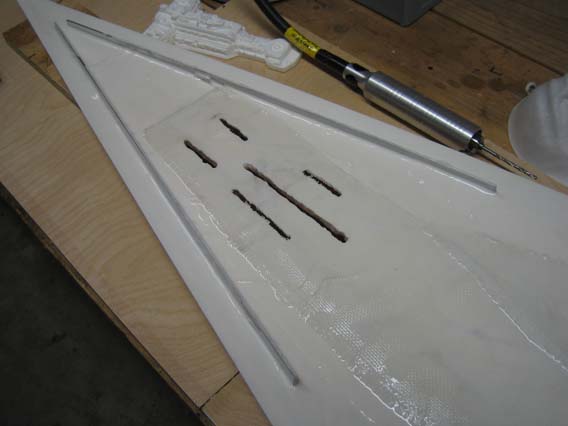
img_0008The main body uses fiberglass cloth and aluminum bars for added strength because of the thin profile. Boring passageways for future lighting has to be done around these structural pieces.
Executor

After purchasing solid resin casts of the model itself, I realized that the model had a lot of room for improvement. I decided to add an entire new range of detail into this thing….that meant a lot of revamping of my old modeling tools & skills.

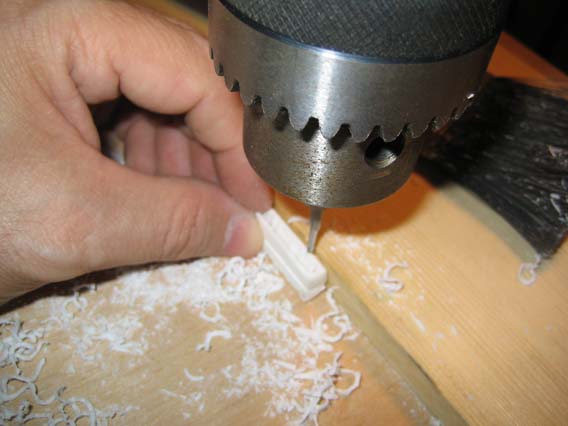
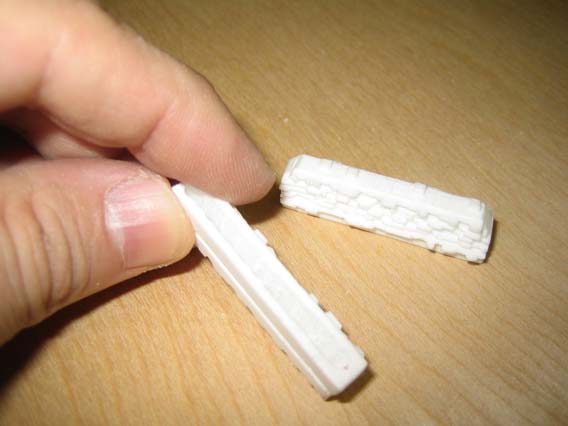
Using resin cast blocks and styrene sheets layered into the “cities” of the ship means that each one must be hollowed out afterwards to allow for interior lighting and electrical wiring. The drill press and I get better acquanted.

Hollowing out cities

img_0004

Executor