As I generated more parts, the sheer number of pieces became difficult to track. While I could stamp some larger piece with alphanumeric stamps and a hammer for later identification, tiny pieces were more difficult to identify. Combined with the fact that some tiny parts existed as ten to twenty pieces that might look identical but have slightly different measurements each. Many times I would set something down, then need to come back and re-measure fifteen or twenty pieces to find the one I had misplaced. I started a ‘bagging’ system of tiny kitchen zip-lock bags, labeling them similarly until I had enough parts to group entire sections such as “index finger” or “thumb. After that I reorganized everything be group for final assembly.
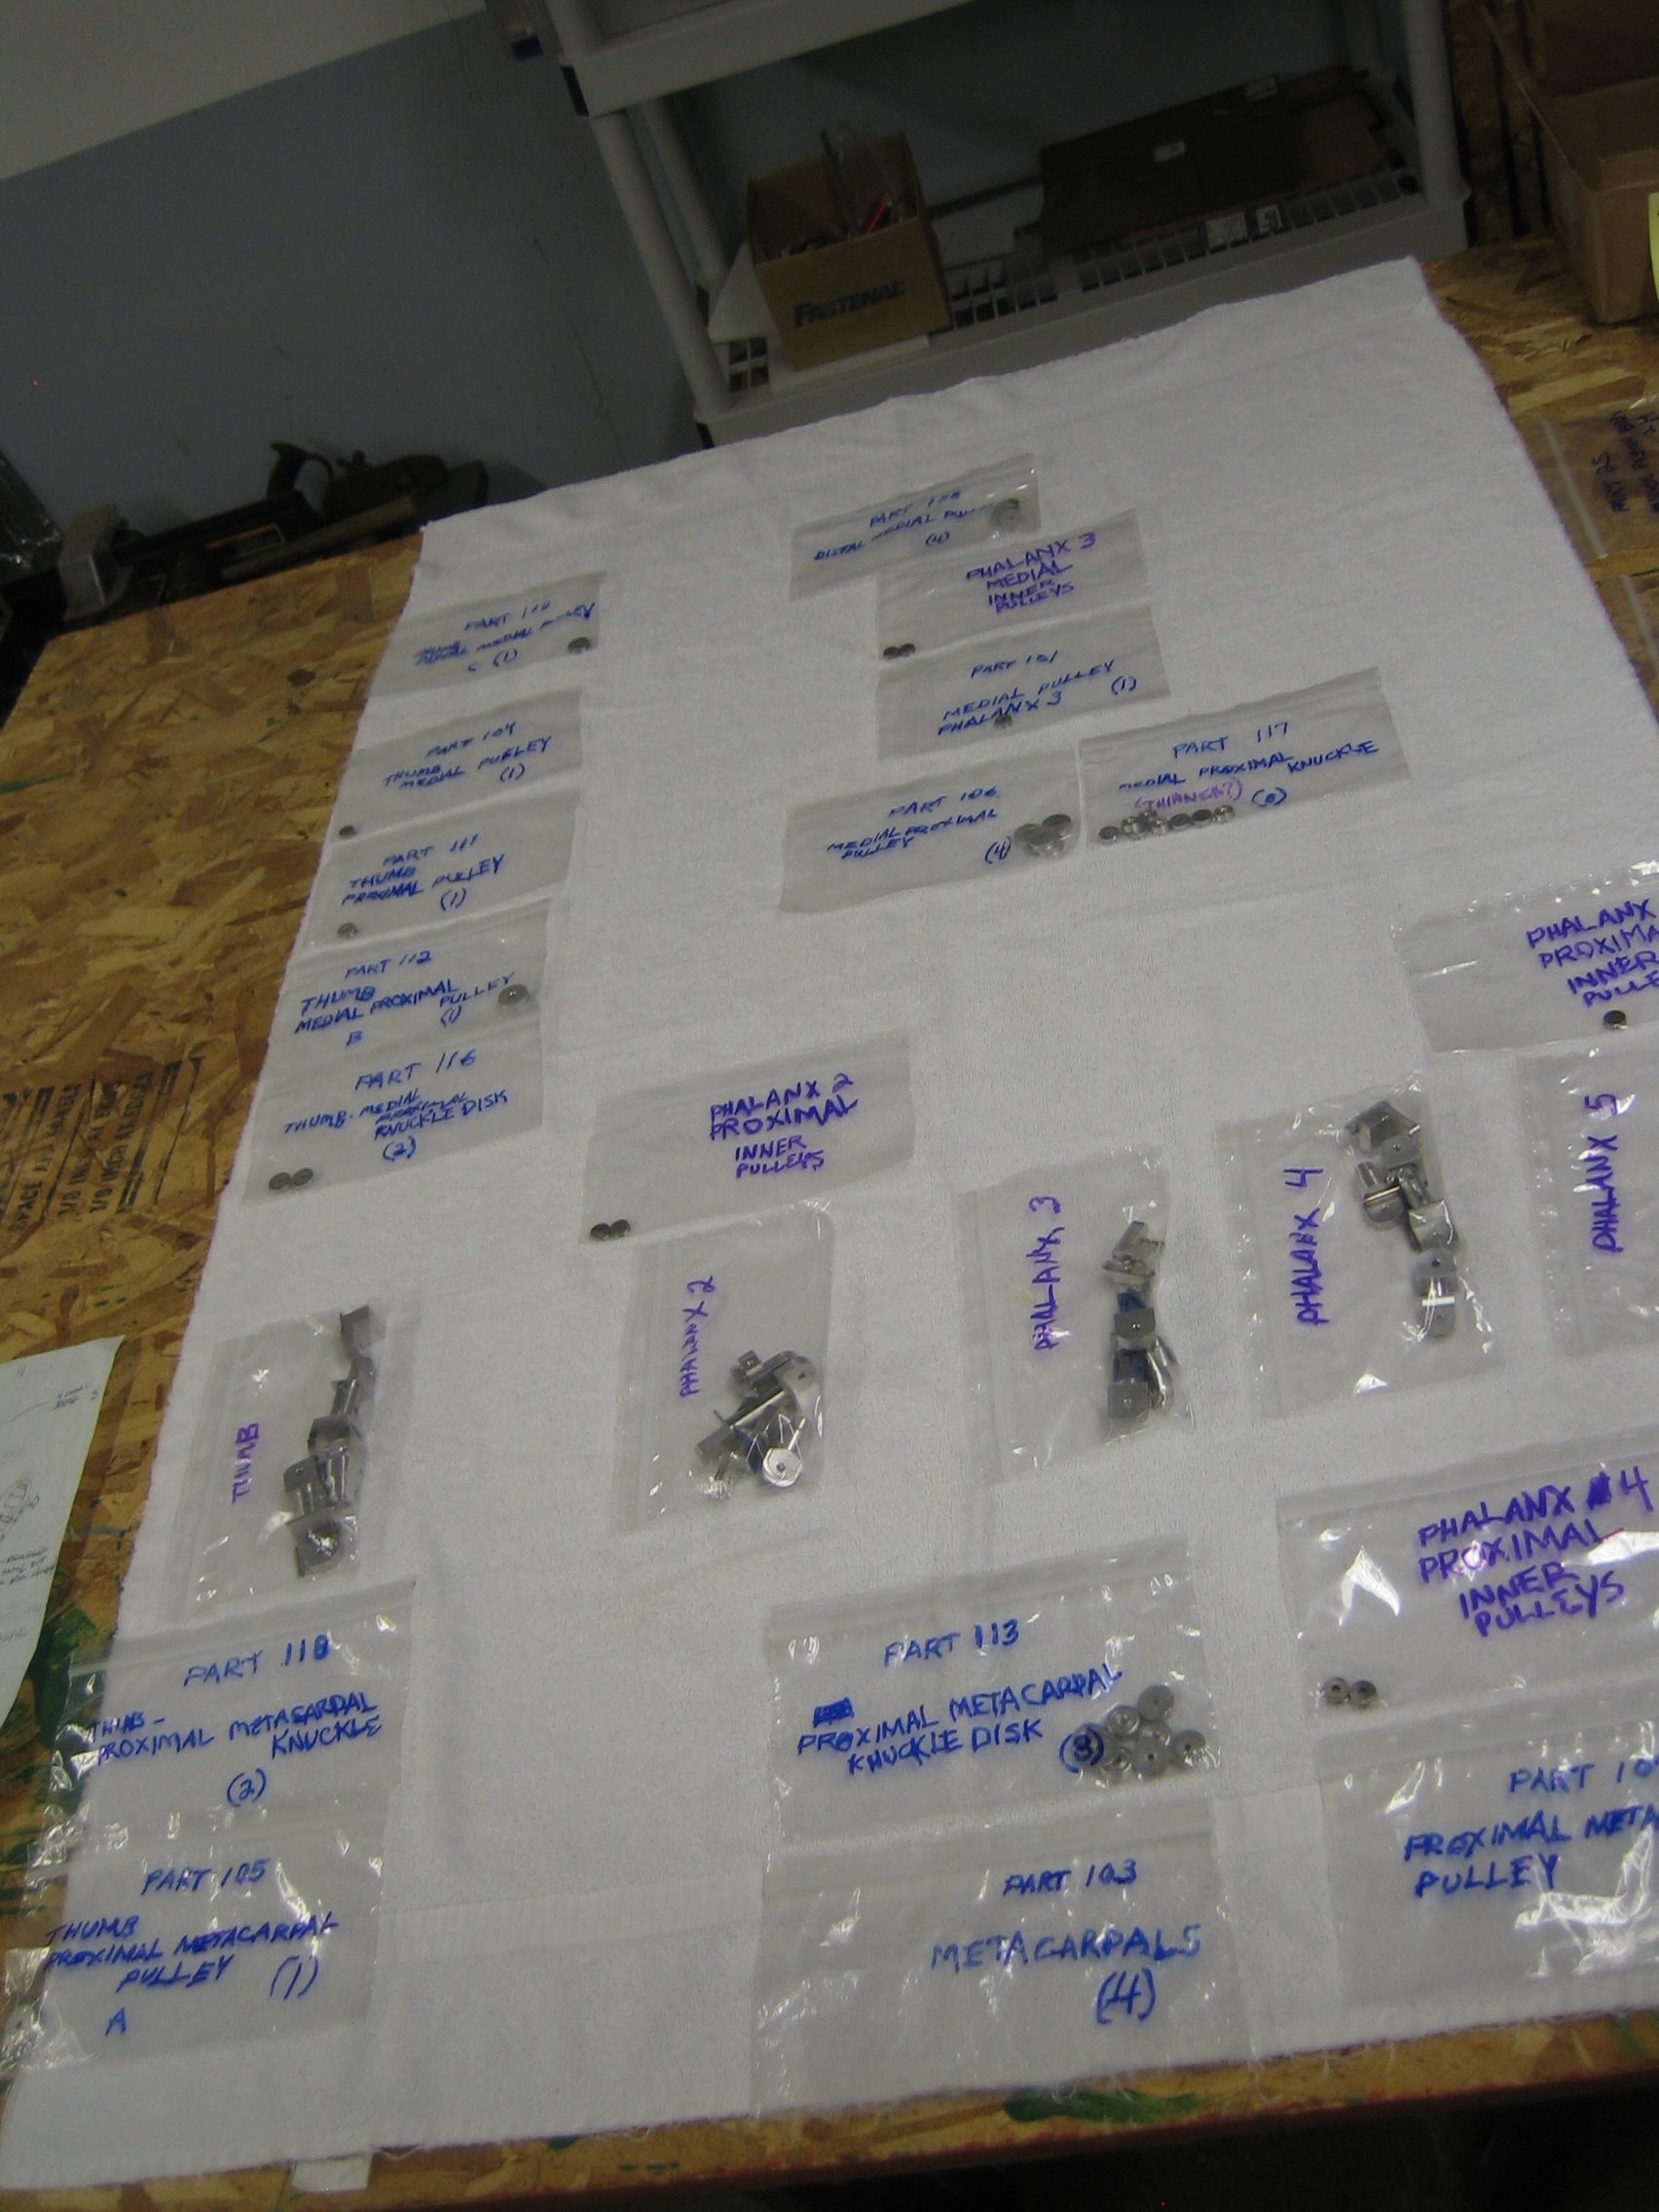
As all the parts for individual fingers were completed, those associated parts could be unbaked and placed together.

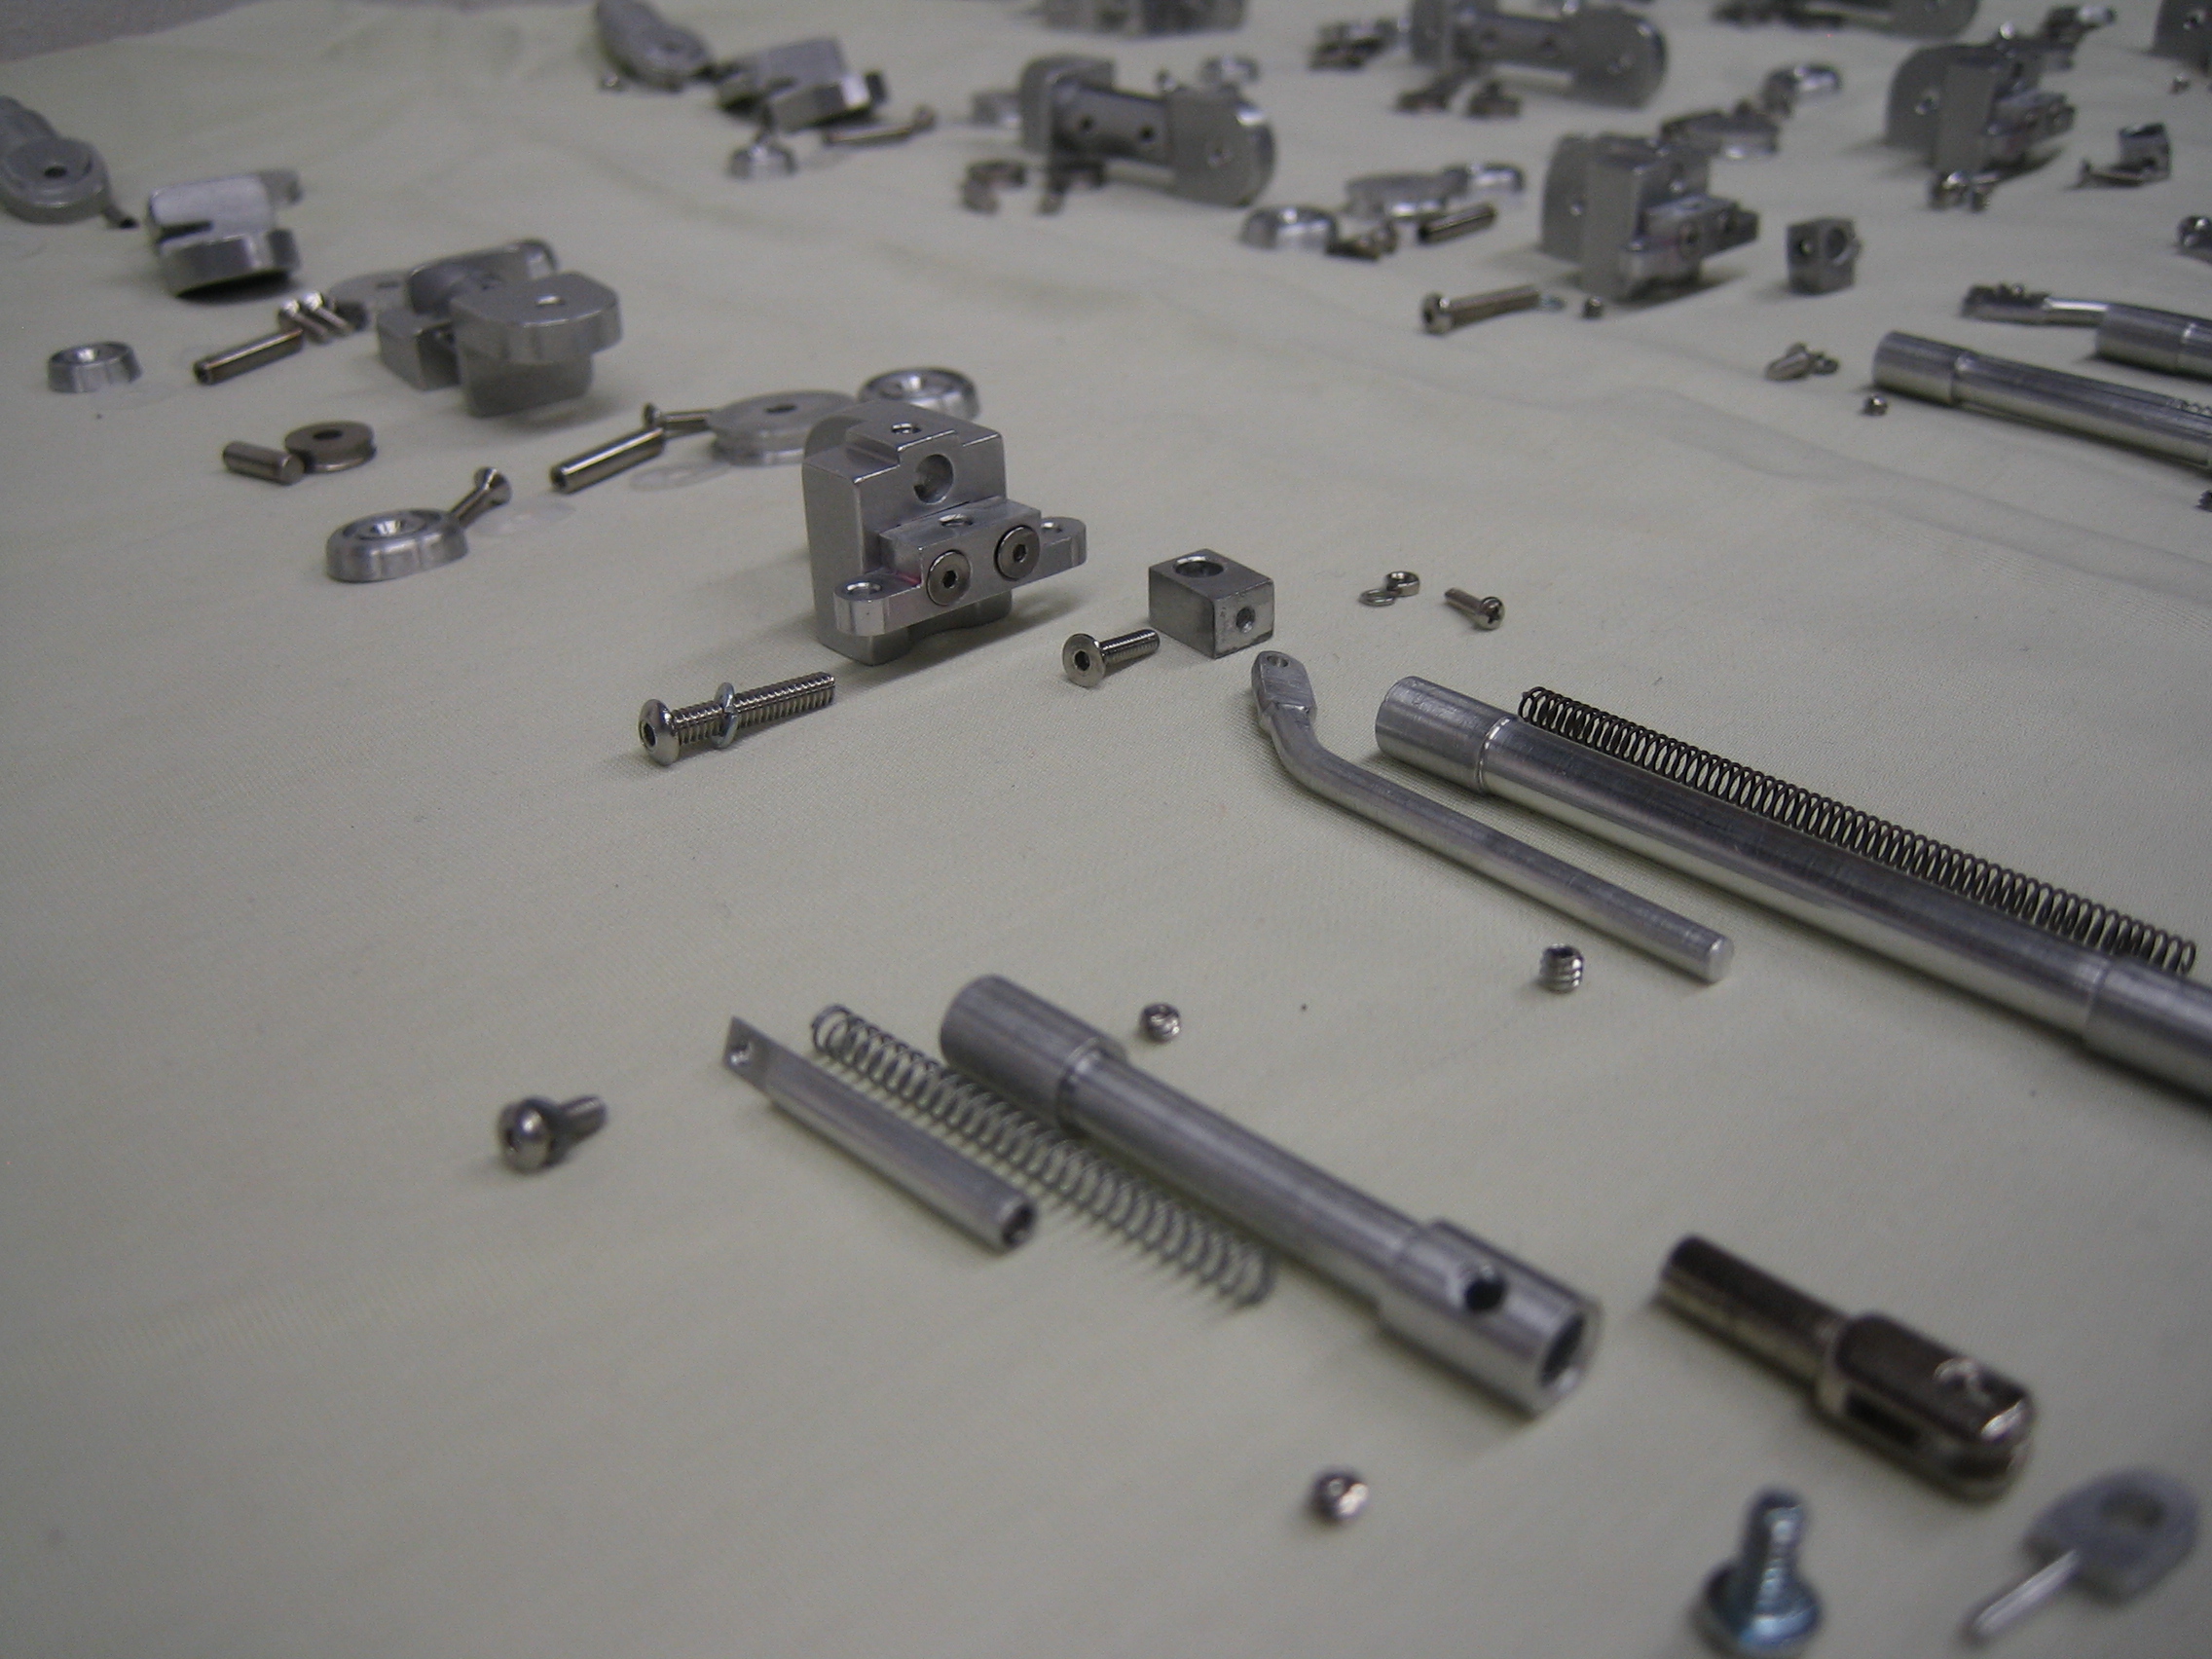
At this point, smaller threaded parts could be made and cut to final lengths during test fittings. The tiny little pieces as set screws, as small as #2-64 size, which were quite the challenge to cut to length and then correct any threads that were ‘spoiled’ in the cutting process. I used a tiny set of jeweler’s files under a microscope for that work and made my own set of tiny hex drivers (because I was practicing knurling at the time) to work them. Springs could now be cut to size, having been made long in case of mistakes.
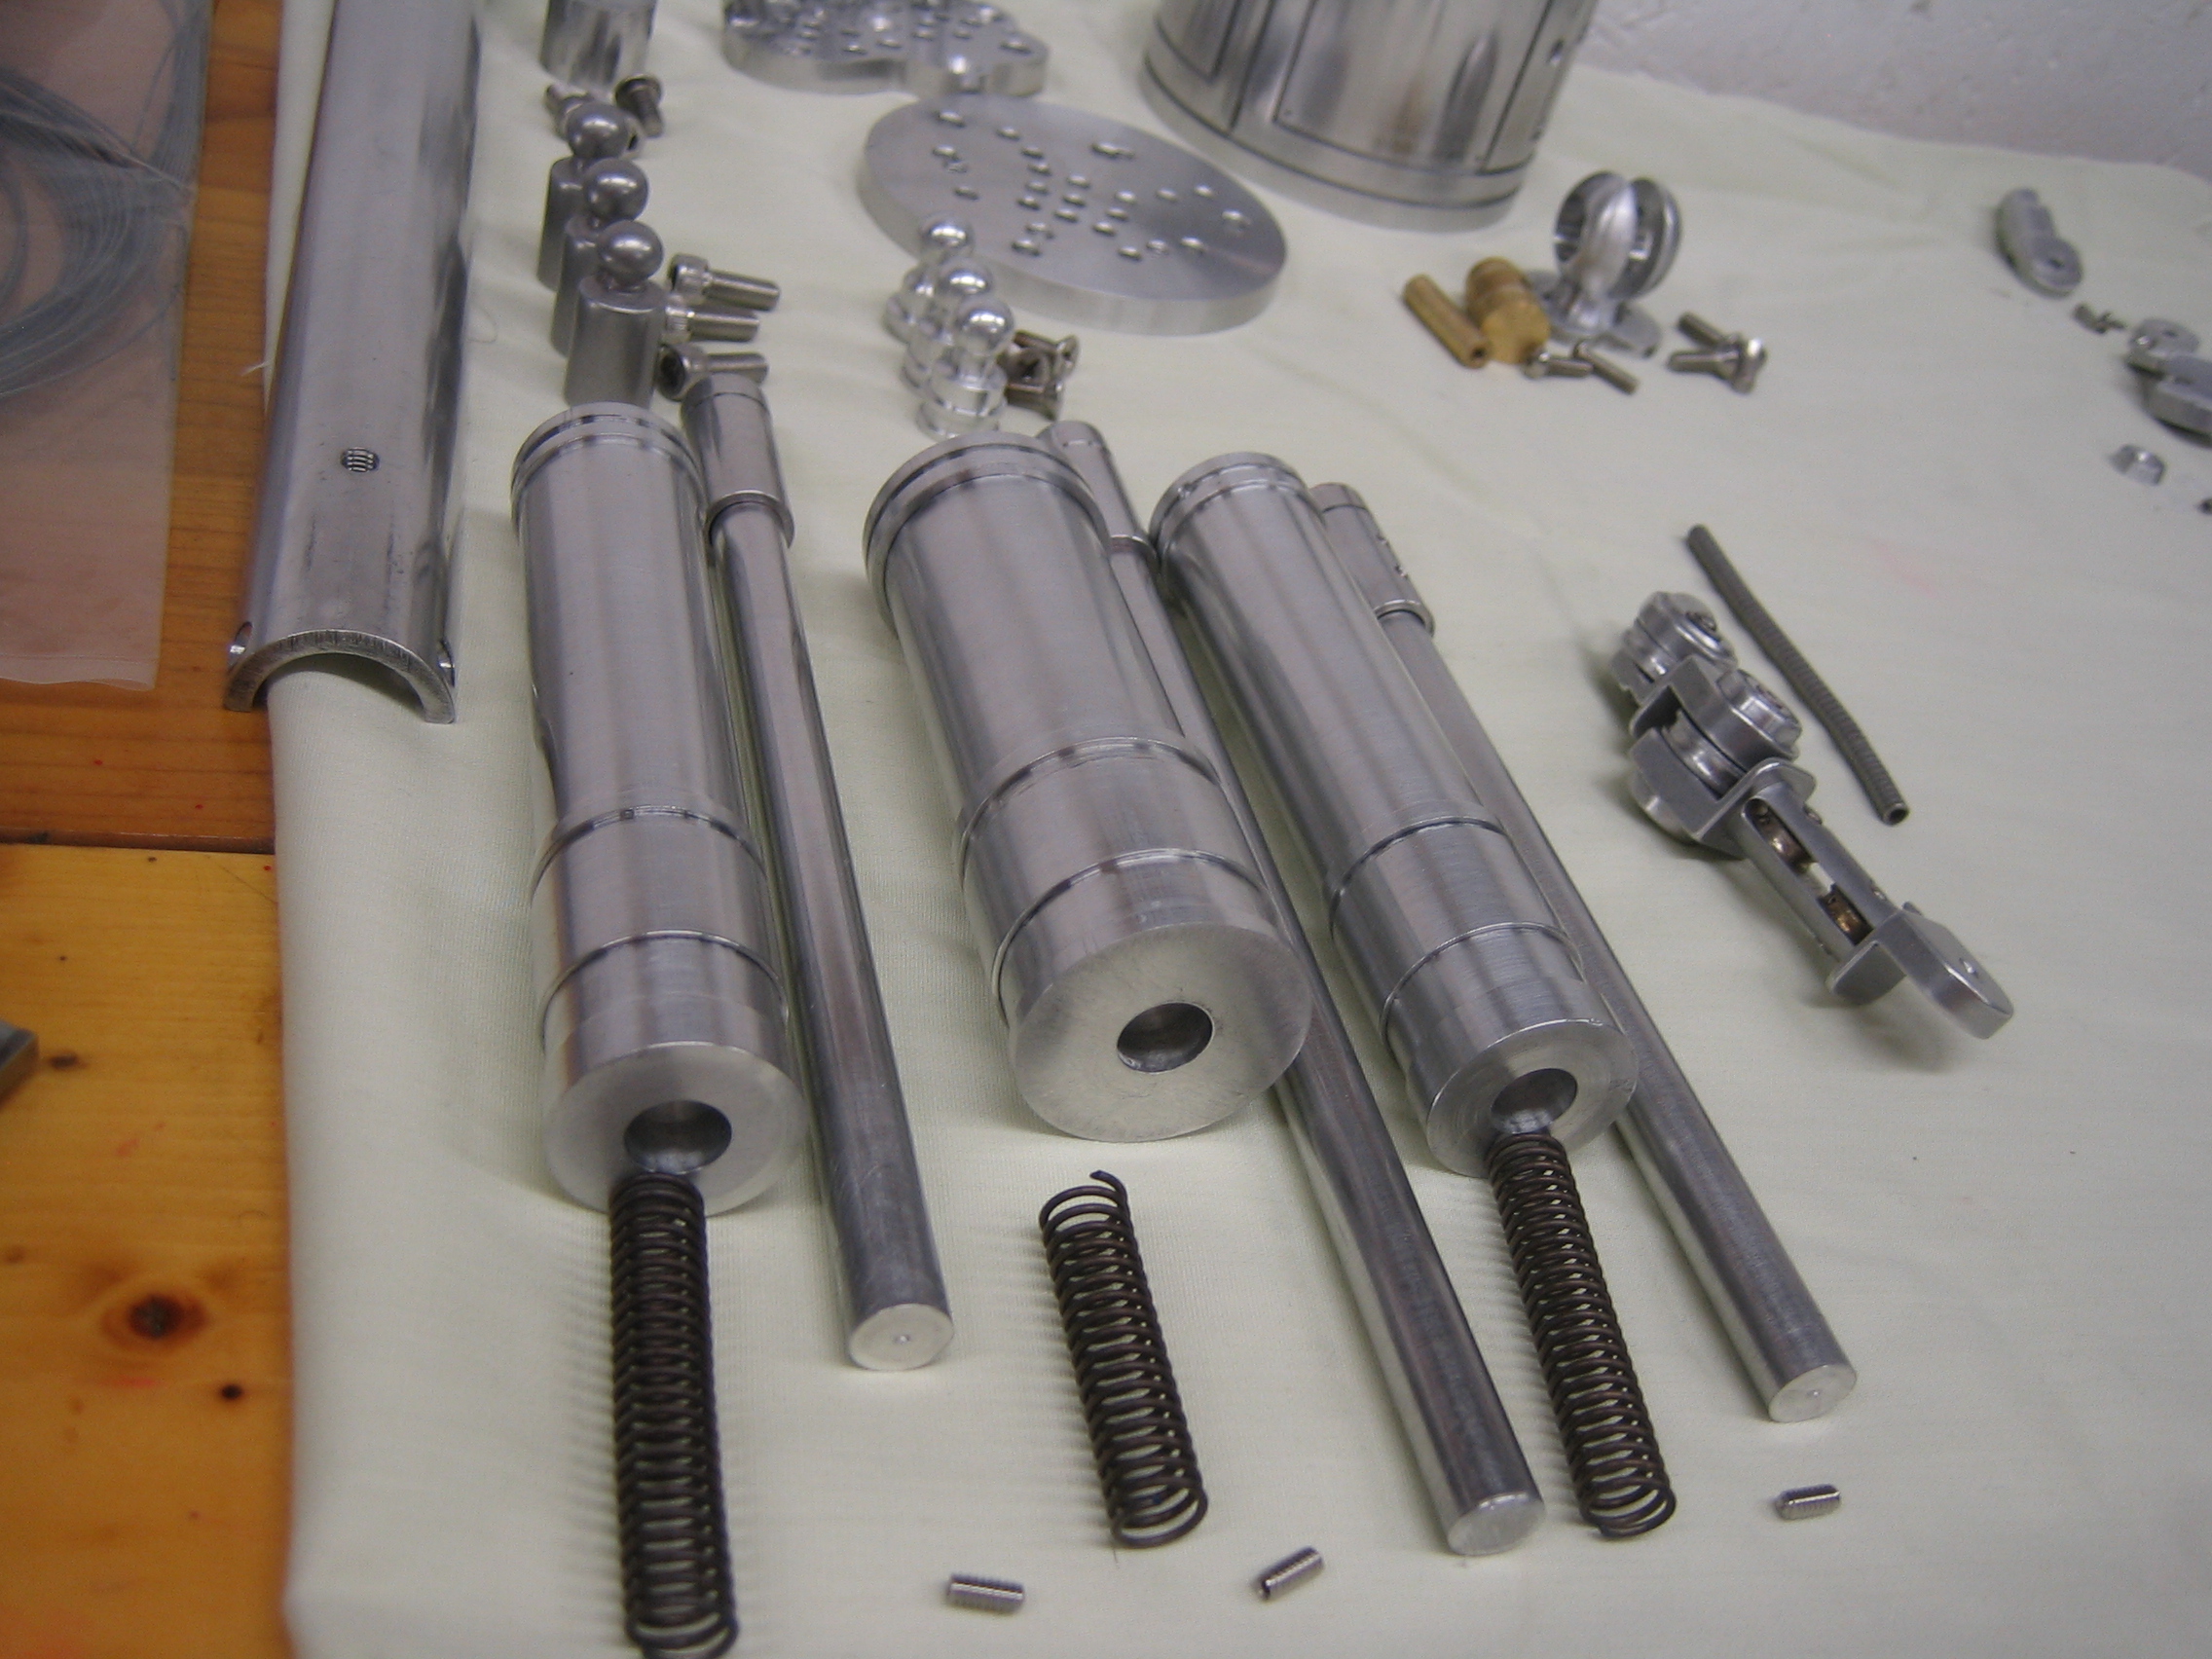
Forearm parts all being inventoried with the larger piston springs being adjusted for size. Small set screws for these would let me lock springs into proper position and allow for adjustment for proper tension.

Wrist, forearm and ‘elbow plate’ and associated parts after cleanup and organization.
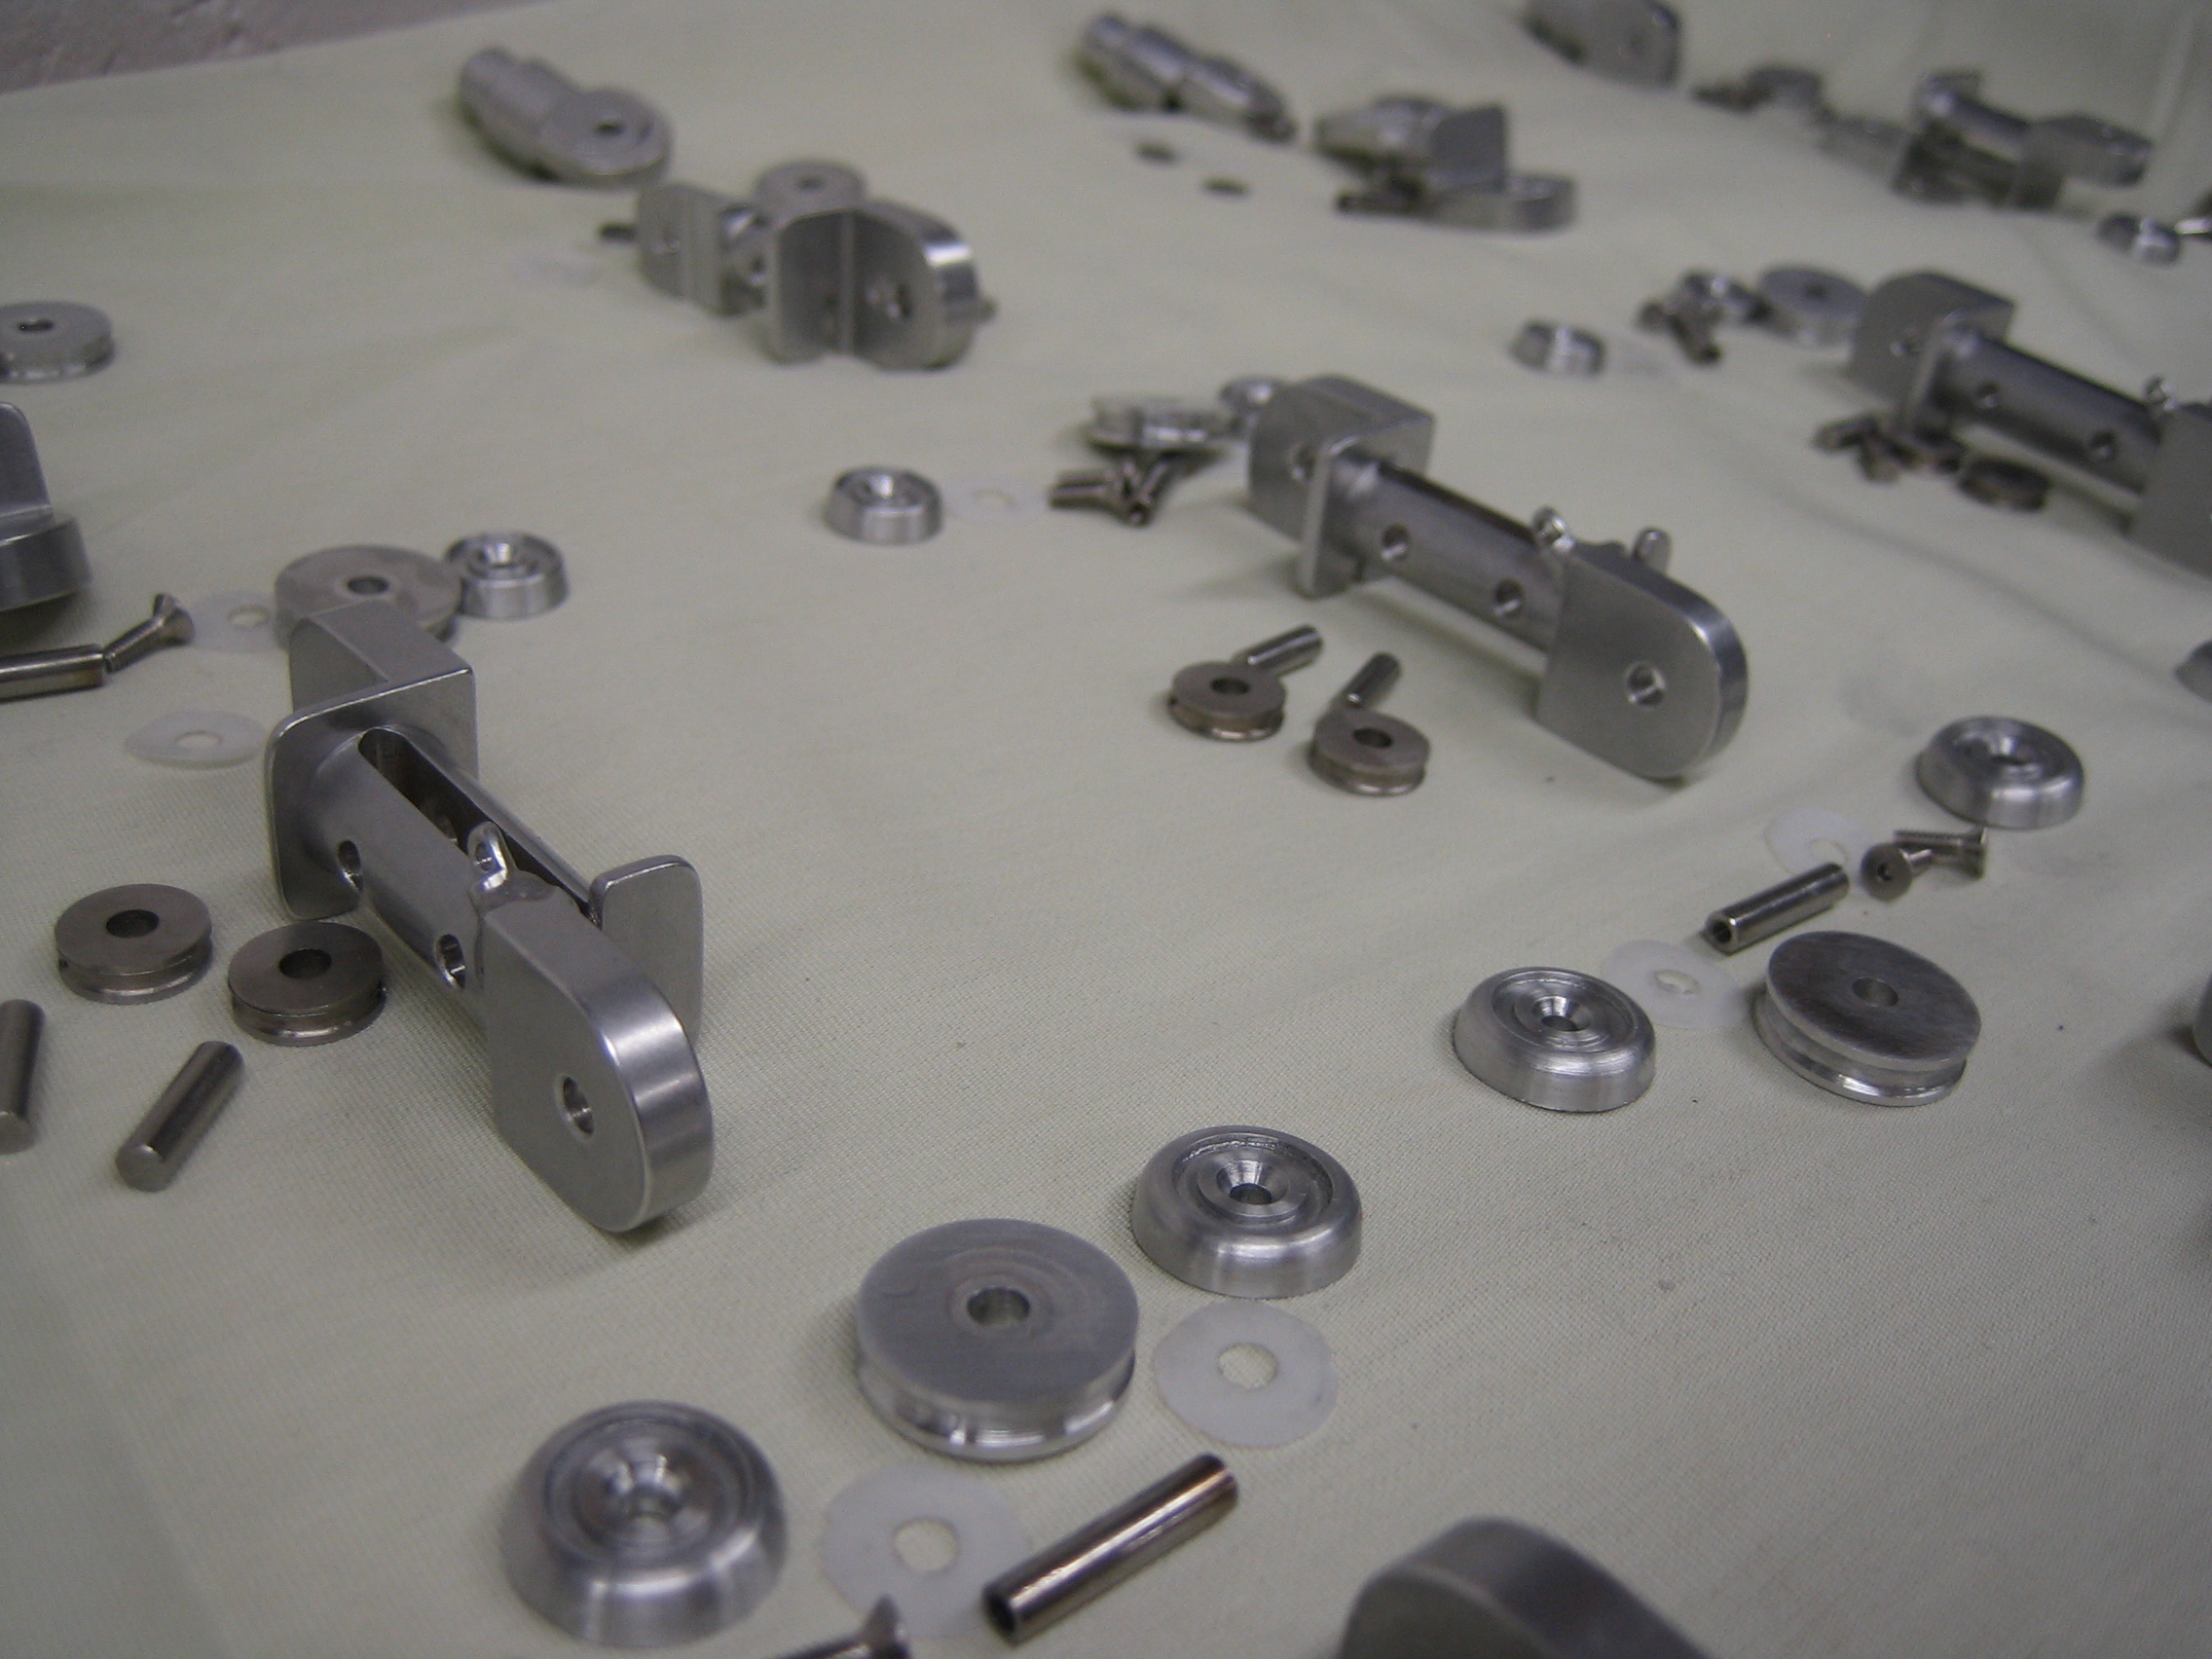
A couple of fingers and their pulley, pins, end caps, teflon washers and phalanges.

From a distance it I sometimes can’t believe I kept it all straight for the duration of the project.