Category: <span>ToolTable, Depth Guage and Improvements to Drill Press</span>

After much frustration clamping small parts to my drill press table I decided to make a Tooling Plate similiar to the one I built for my Sherline Mill. By using the same sizes for mounting hardware I can use holding tools on both devices without having to purchase two different sets.

photo1 4


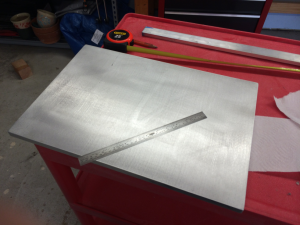
First a trip to the local metal dealer for some good “drop” scraps. I was planning to use 14 x 18″ x 1/2″ aluminum plate but the thinnest in stock that day was 5/8″. Heavy, but good and solid for about $50. A few passes with the random orbital sander on top and the belt sander on the edges to smooth it all out yields a good surface for drilling. Remember, this isn’t supposed to be a surface plate.


Image1

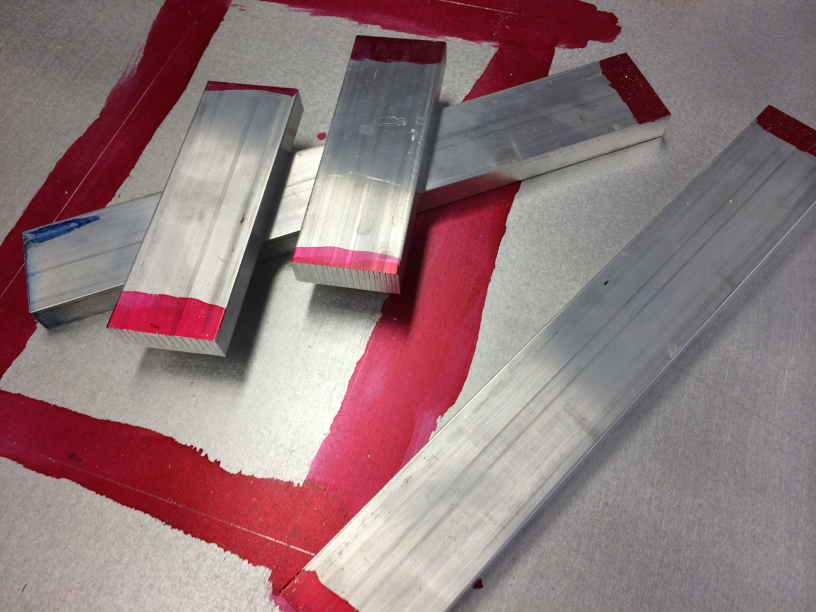
The plan is to build a frame of 1-1/2 x 3/8″ bars and bolt it to the bottom of the plate. This frame would them be easily grabbed by my my XY Table. Then when I position the XY Table, the ToolTable can be (relatively) precisely placed.


photo 4


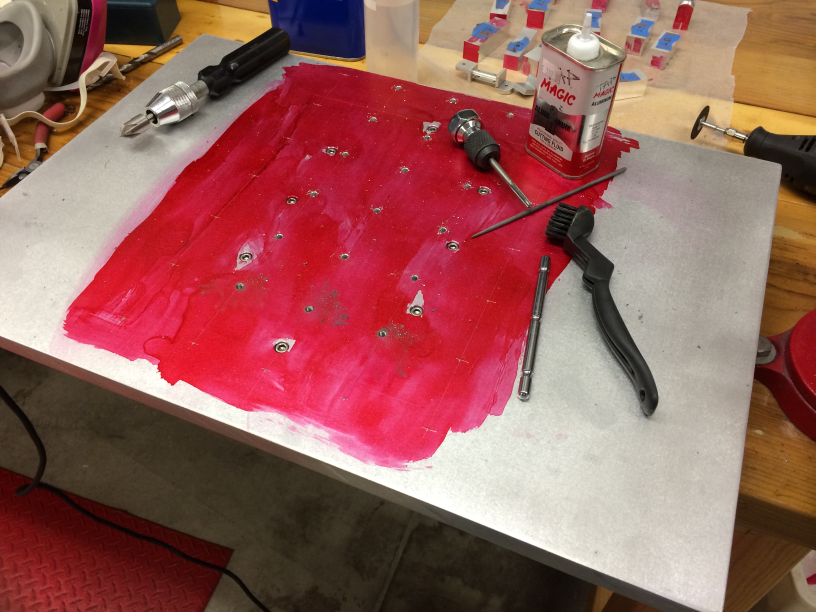
I drilled, chamfered and tapped eighteen equally spaced 10-32 holes–the same size Sherline uses for all it’s clamping devices. The thicker plate took some time to tap. Good for the forearms.


photo1 3

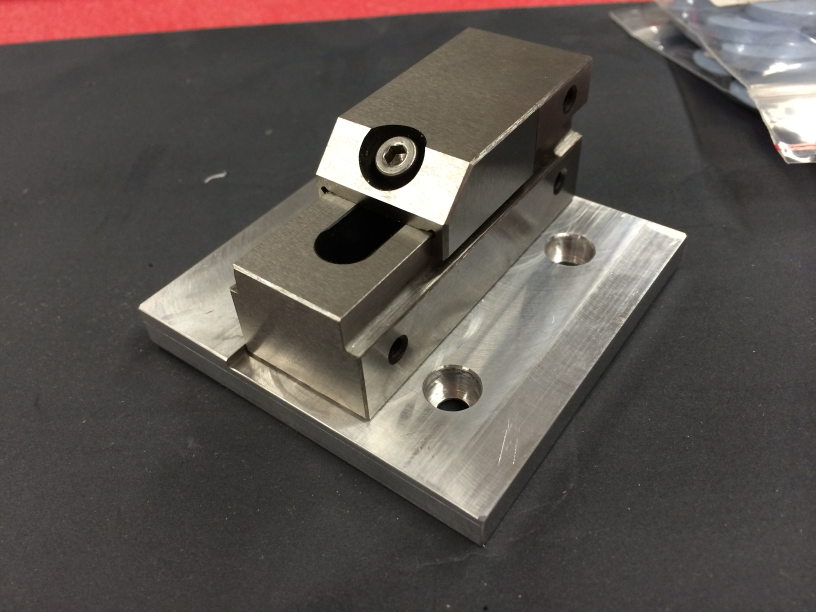
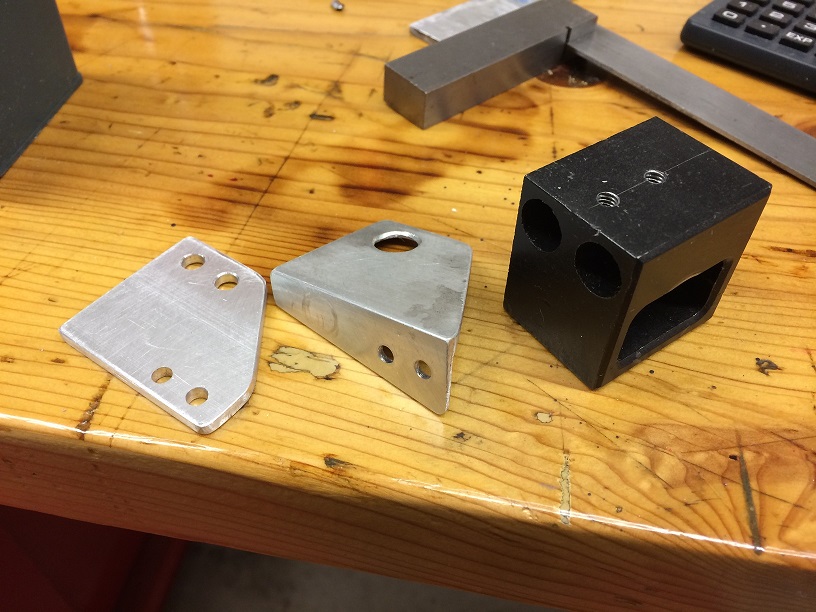
I also drilled and tapped several specifically spaced holes for items such as Sherline’s vise and a small precision vise I use that I previously mounted to a small plate for tiny items. This plate’s holes are set to work fit into Sherline’s T-Slots both along the X or Y axes.


photo 5

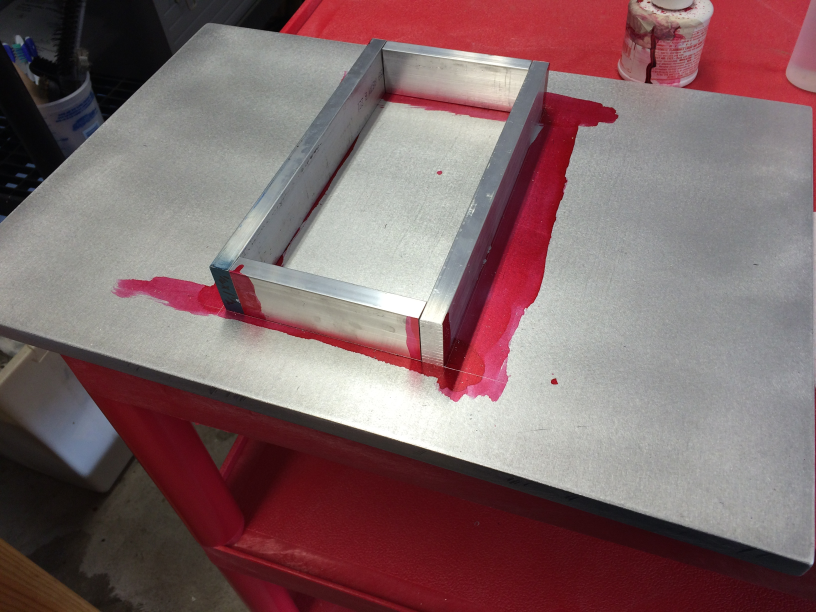
Now the frame could be bolted with more 10-32 machine screws. These were drilled and counter-bored into the table top and set just below the surface to keep it smooth.

photo 2

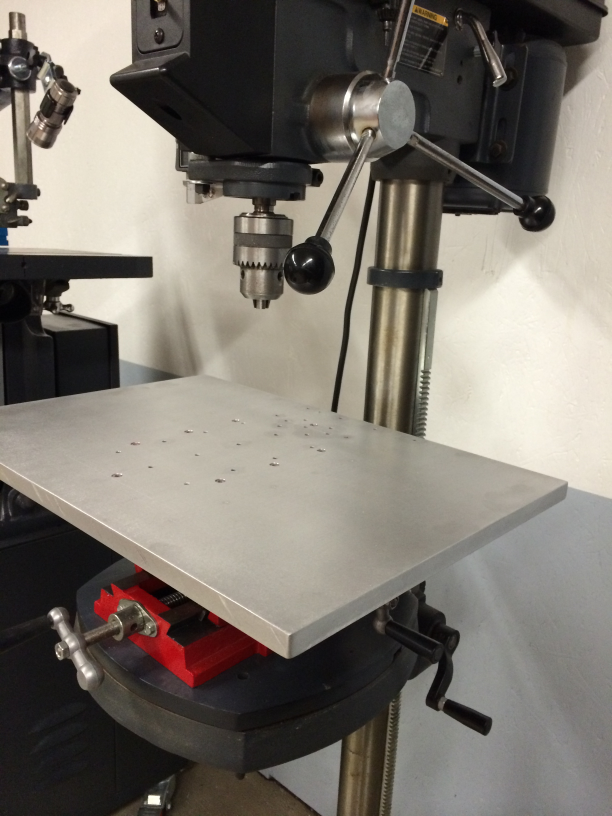
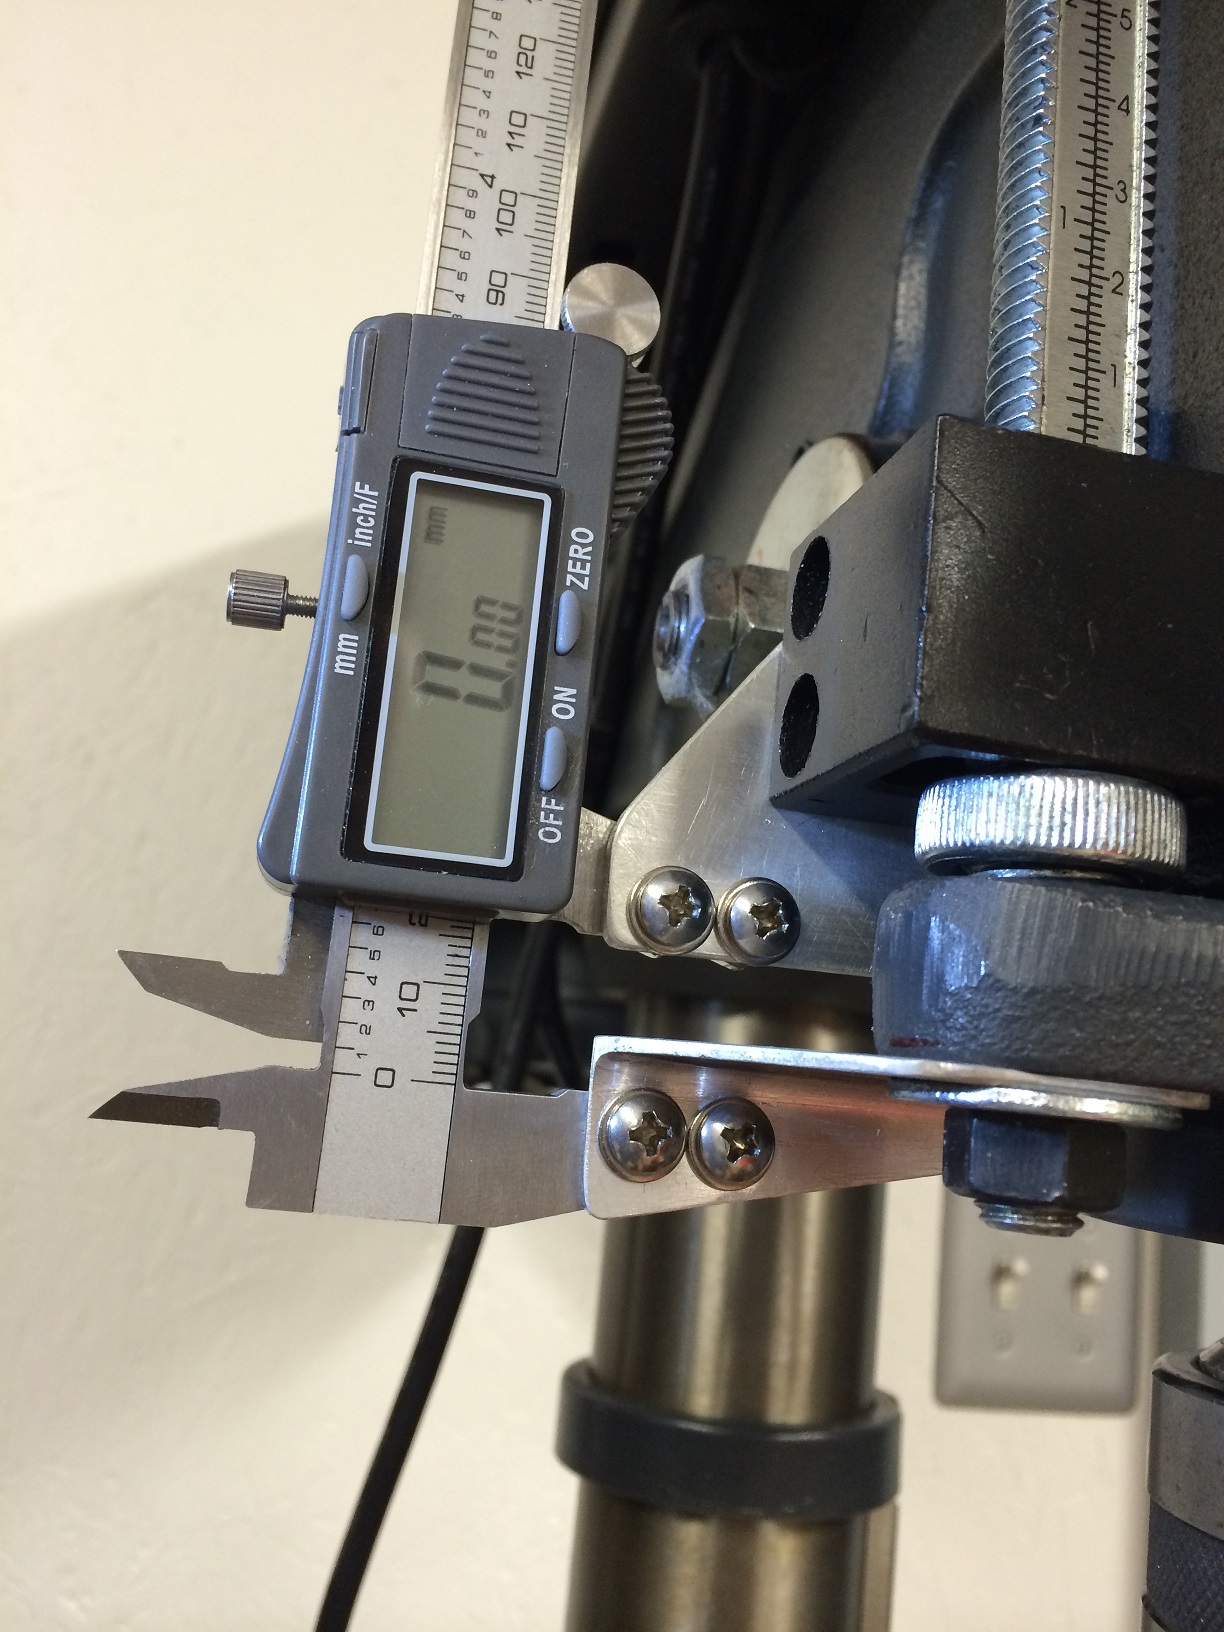
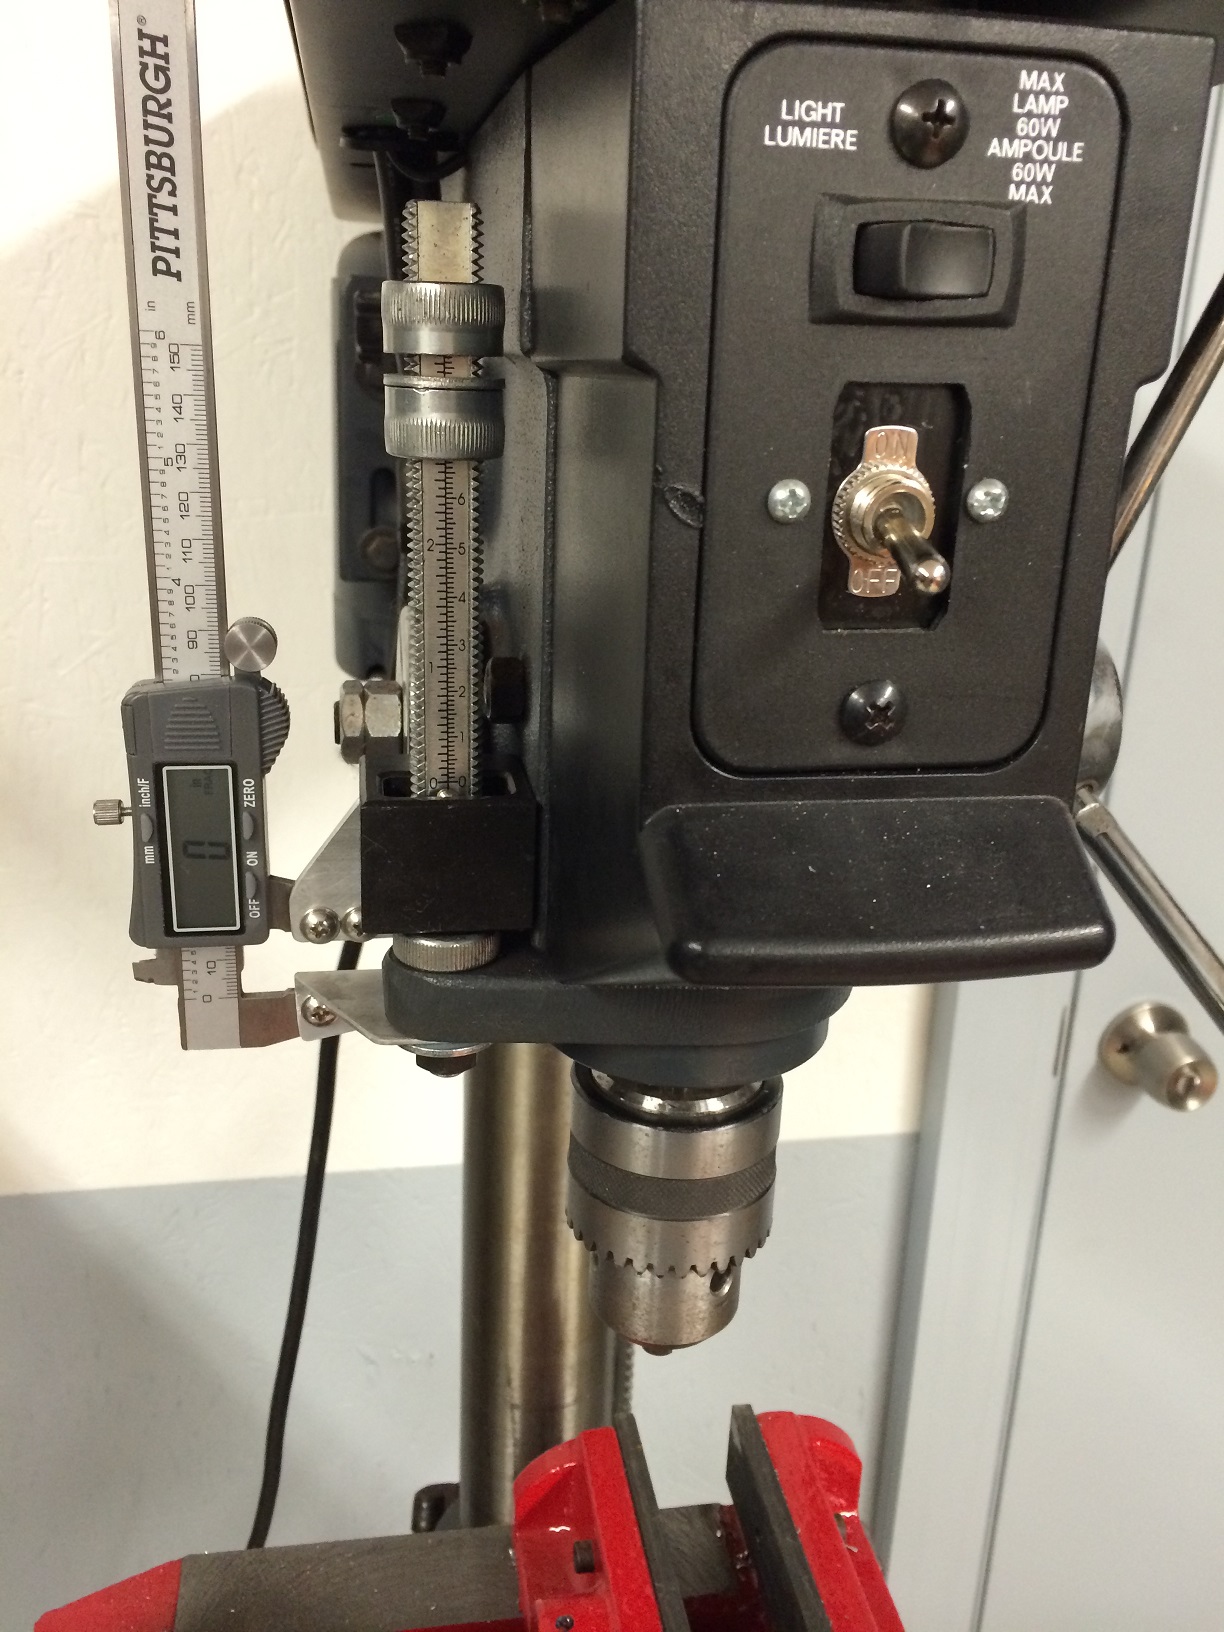
The finished product! It’s now easy and fast to make small positioning adjustments in both the X and Y axes when setting up to drill. It’s important to remember that the base XY Vise, being a cheap product, has lots of backlash so I always lock the vise leadscrews down before drilling.


ToolTable, Depth Guage and Improvements to Drill Press

My full height Craftman Drill press was in need of some attention. It had always had some wobble and vibration issues. The depth guage was very innacurate as well. I started by removing all the pulleys and the tension arm.IMG_0976

A medium sized gear puller made short work of that task. I then scrubbed the painted pulleys in mineral spirits and cleaned out all the old grime and grease. Upon closer inspection I found a lot of rough edges on the pulleys that might have been snagging on the belts at times. I filed the pulleys in several places to smooth them out, then after cleaning resinstalled them with some new lubrication.IMG_0979

The tension arm shaft ends seemed a bit rough so I wet sanded it a bit smoother. After reinstalling the belts a test showed that this fixed most of the vibration issues.


The drill press had arrived with the arbor and chuck installed. I had never had reason to remove it so i had to dig around to find the original arbor removal tool. Fortunately I found it deep in my tool collection. Very little rust even after 17 years of use. I polished up the arbor and gave the chuck some fresh oil to prevent rust as I do a couple times a year.IMG_0980

The original power switch as installed was a PITA. It was always locking up on me. I removed it and installed a heavy duty toggle switch with a thick plastic backplate. Better.

IMG_0981


Now for an accurate depth guage. I purchased a 6″ digital caliper from Harbor Freight for $15, then set about milling some 1/8″ aluminum angle and sheet into a couple brackets for mounting. IMG_0982

I drilled and tapped two 10-32 holes into the original depth guage’s mounting block. This is where the flat plate would attach for the “fixed” part of the caliper. The angle plate would attach to the bottom of the bolt on which the original depth guage was etched.

My original intention was to drill and tap mounting holes into the caliper. I attempted to drill holes into the caliper’s arms. Not a chance. That hardened steel was impervious to my drills. I switch to my Dremel and a grinding wheel and ground out notches for the screws. Not the prettiest but it worked and would be hidden by the mounting plates.


IMG_0983


No, that isn’t blood, but marking dye.

IMG_0987

I used some stainless steel machine screws, washers and bolts to tie it all together. I hate rust.


IMG_0991

I also ground off the sharp “inside arms” from the caliper after the first time I cut myself on them. Sharp little suckers. The caliper adds a bit more friction to the drill press so I had to adjust the tension of the quill spring to be a bit tighter. Otherwise releasing the quill are would fail to withdraw the chuck from the work. It was a little like balancing a garage door spring for the tiny amount of added load.


It works great! I zero the guage after drawing the drill down to the top of the work and it’s only a button press to switch between decimal, metric and fraction on the fly! I kept the original depth guage purely for it’s continued use as a stop to prevent accidentally drawing/drilling too far and wrecking my future drill press table I intend to build.


ToolTable, Depth Guage and Improvements to Drill Press